
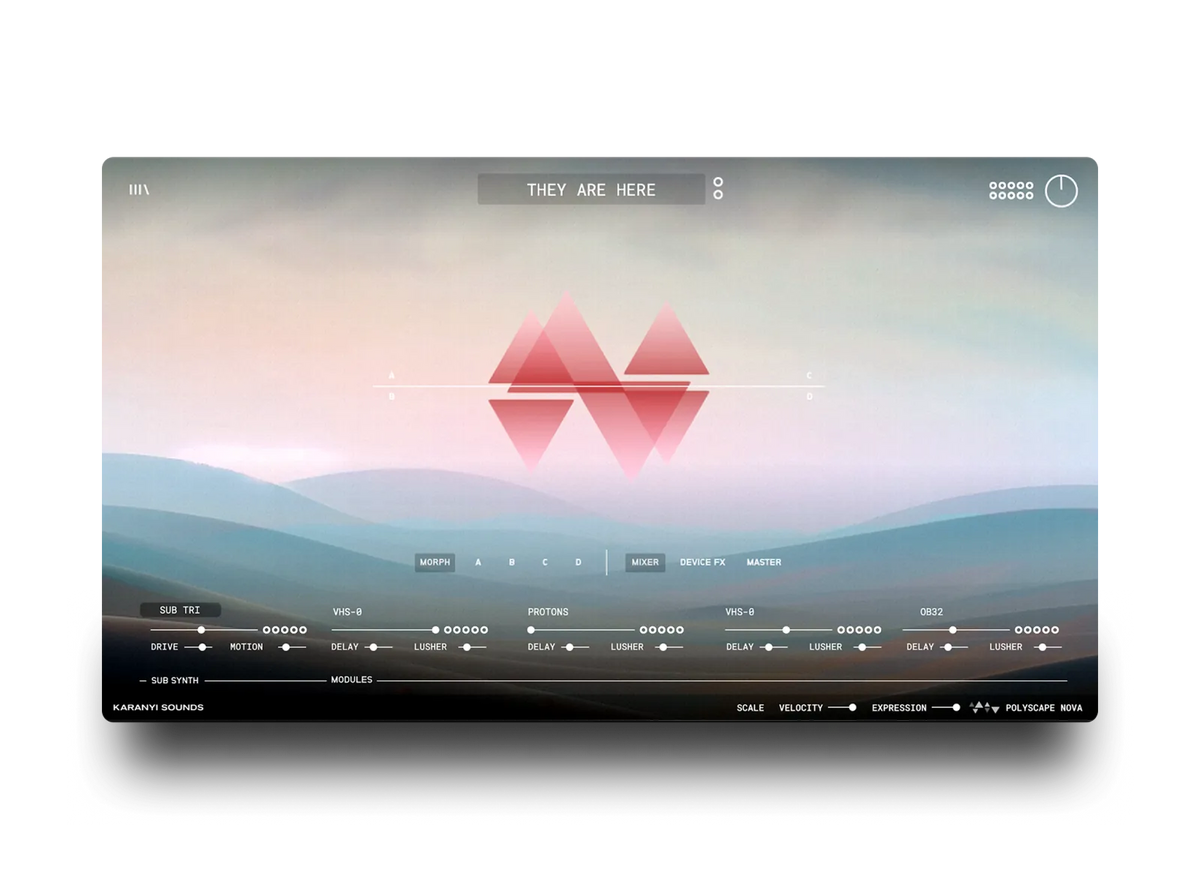
The fastest way to turn a string instrument sound into an evolving pad is to combine a slow attack and long release envelope with a slow-moving filter and a wide, spacious effects chain, then automate one parameter over several bars so nothing repeats in an obvious loop. You do not need Kontakt or a huge sample library to do this: a single well-programmed patch, run through a handful of slow modulation sources, gets you there on almost any string-based instrument, including Karanyi Sounds' native Polyscape Nova.
What actually makes a pad feel like it is evolving
A static pad holds one note, one filter position and one stereo image for as long as you press the key. An evolving pad changes at least one of those things slowly enough that the ear does not register a "loop," but fast enough that something is clearly happening if you listen for 15-20 seconds. With string sources specifically, you get an extra ingredient for free: bow noise, subtle pitch drift and ensemble detuning are already part of the sound, so you need less synthesis work than you would starting from a bare sawtooth wave.
Three moving parts do almost all of the work: the envelope (how the sound arrives and leaves), a slow filter or amplitude modulation (how it breathes), and a time-based effects chain (how it fills space). Get those three right and the pad will sound alive even with a plain two-note chord.
Step-by-step: build the pad
- Start with a bowed, sustained source. Pick a patch or sample that keeps its bow attack and ensemble texture audible, not a smoothed-out "string pad" preset that has already had the character filtered out. A legato cello or violin ensemble layer works better than a single solo instrument, because the natural micro-timing between players gives you movement before you add anything.
- Set a slow attack and a long release. Attack around 800ms-1.5 seconds and release 3-5 seconds keeps individual notes from popping in and out, and lets chords overlap into each other. Sustain should sit high (80-100%) so the tone does not thin out while it is held.
- Layer two voices, detuned and spaced. Duplicate the patch, detune the copy by 5-10 cents, and drop it an octave for weight, or shift it up a fifth for air. The slight beating between the two layers is what stops the pad from sounding flat.
- Add one slow filter sweep. A low-pass filter with cutoff moving between roughly 800Hz and 3.5kHz, driven by an LFO around 0.05-0.1Hz (one full cycle every 10-20 seconds), gives the classic "breathing" pad motion. Keep the depth modest, 10-20%, so it shifts tone rather than obviously wobbling.
- Automate one parameter over the whole section, not just the LFO. An LFO alone repeats, and repetition is what makes a pad sound like a loop instead of something evolving. Draw a one-way automation curve, for example filter cutoff or reverb mix, that moves gradually across 8-16 bars (at 80 BPM that is roughly 24-48 seconds), so the pad is always slightly different from where it started.
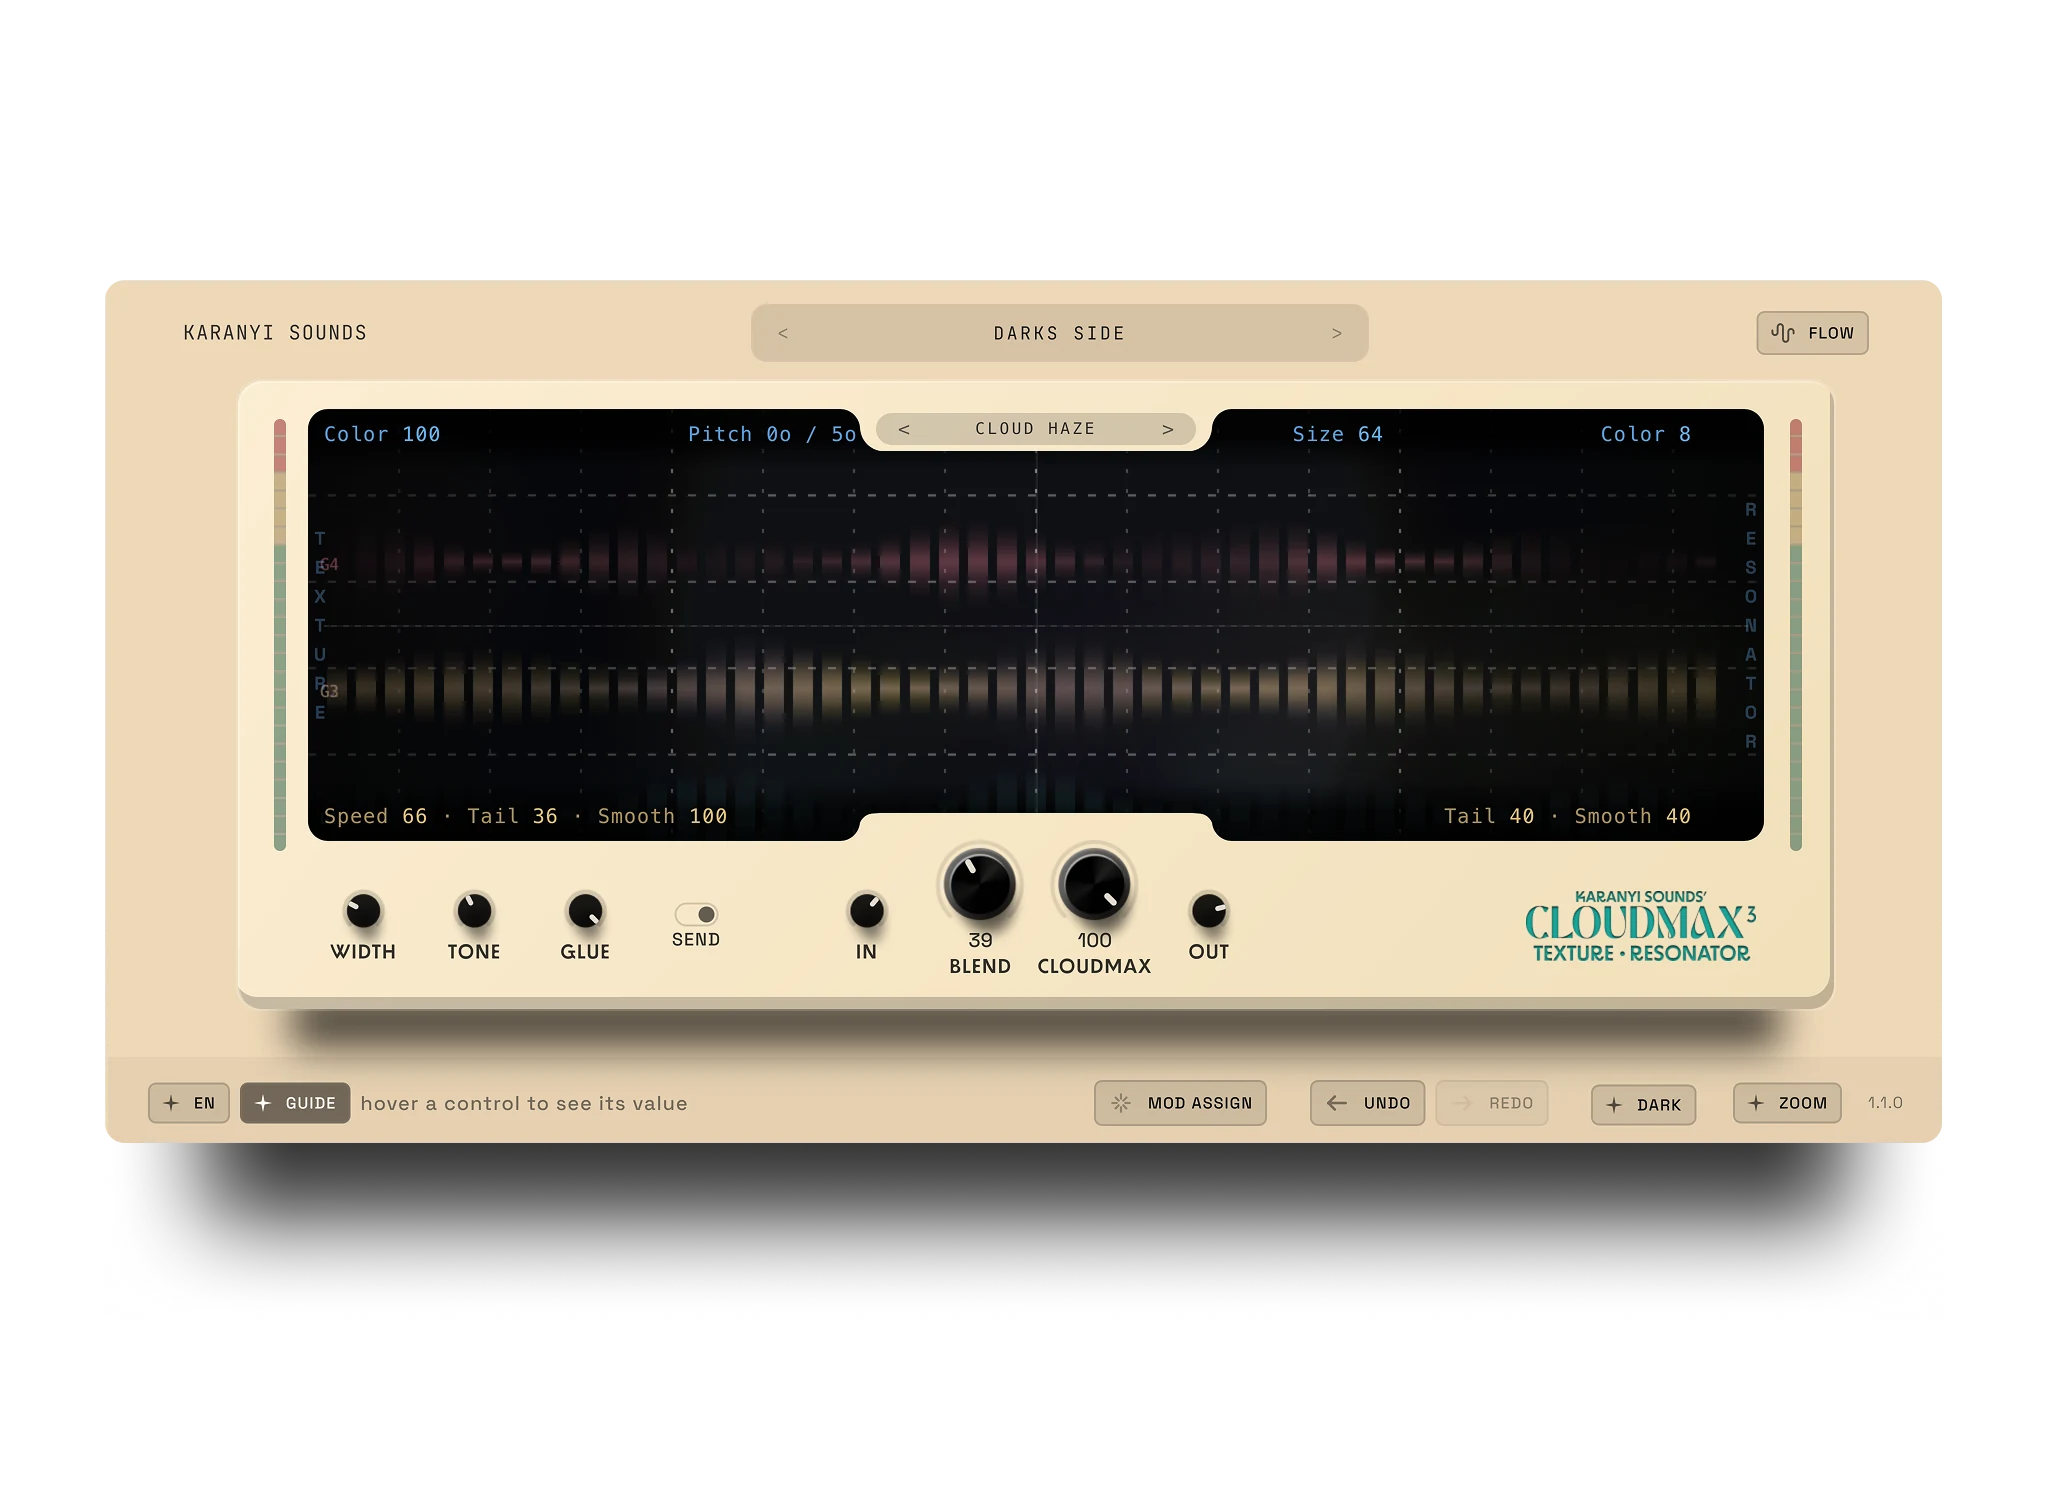
- Finish with a spacious, slow effects chain. A phaser or chorus set to a slow rate (0.1-0.3Hz) adds width without flutter, and a reverb with a 4-8 second decay at a 25-40% mix pushes the pad back in the mix while keeping the harmonic content readable. If you want extra granular movement on top, a dedicated granular delay and reverb plugin such as Cloudmax 3 can add that texture to any pad source, string-based or not.
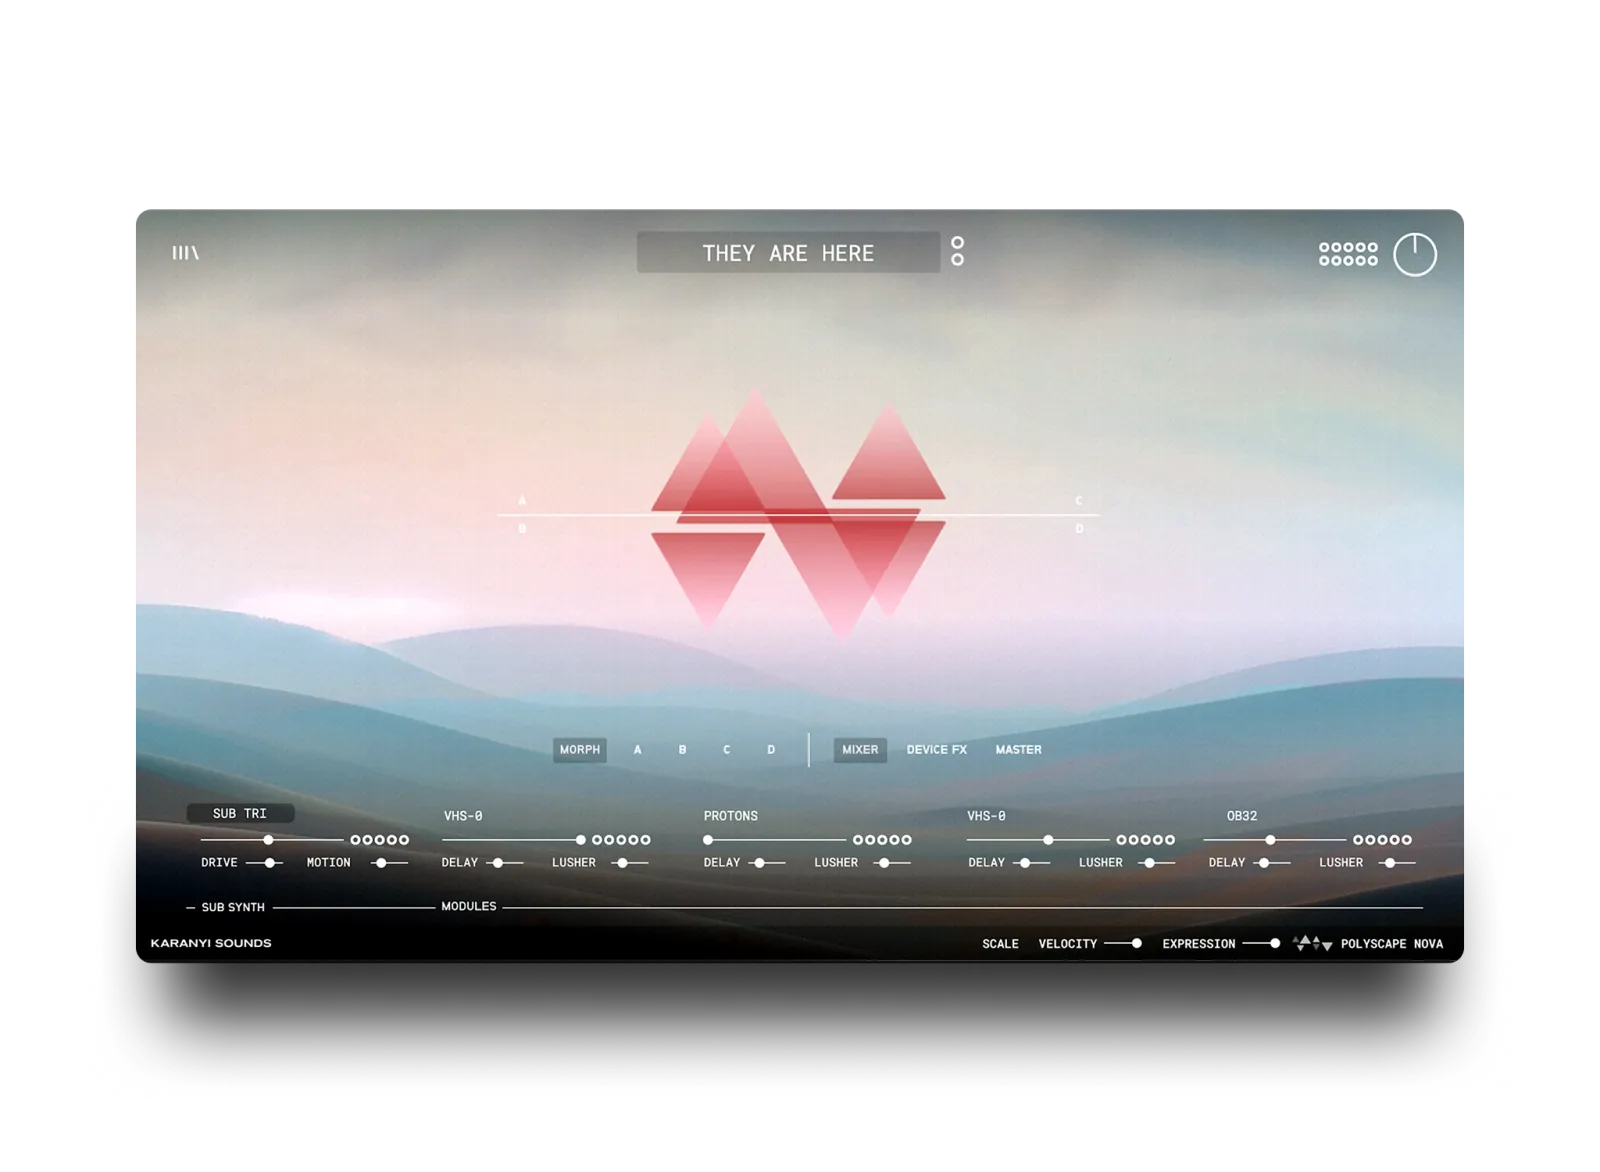
If you are building this inside Polyscape Nova, most of steps 1-4 are already built into the instrument: it fuses string instruments with modern synthesis specifically to create evolving soundscapes, dynamic pads and rhythmic textures, so you are mainly deciding how far to push the automation and effects on top of a patch that is already moving. And because it runs natively as a VST, AU or AAX plugin, there is no Kontakt or Kontakt Player to install first, unlike the older Kontakt-based Polyscape library it succeeds.
Common mistakes
- LFO rate too fast. Anything faster than about 0.3Hz on a filter or amplitude LFO starts to sound like a tremolo effect instead of a slow evolution. Keep the cycle length in the 10-30 second range for pads meant to sit under a track for a while.
- Too much reverb, not enough definition. A long reverb tail is part of the appeal, but pushing the mix past 40-50% on a pad that already has two detuned layers turns the chord into a wash with no pitch center. Automate the reverb send up gradually instead of starting there.
- Skipping the detune and layering step. A single un-detuned voice, no matter how good the filter movement is, will still sound comparatively static next to a layered patch. The beating between two close pitches is doing more of the "evolving" work than most producers expect.
- Letting the automation loop obviously. A filter LFO synced to a round number of bars, exactly 4 or 8, can start to sound like a predictable cycle once a listener notices it. A slower, one-way automation move across the whole section avoids that.
- Losing the bow character. Heavy low-pass filtering from the start can remove the exact attack noise and ensemble texture that made the string source interesting. Filter after confirming the raw patch still sounds like strings, not before.
Frequently asked questions
Do I need Kontakt for this?
No. This process works on any string-based instrument or sample, and plugins such as Polyscape Nova run natively as VST, AU or AAX with no Kontakt or Kontakt Player required. That is a change from the original Kontakt-based Polyscape library; Polyscape Nova dropped that dependency entirely.
What LFO rate should I use for the filter?
Somewhere between 0.05Hz and 0.1Hz, meaning one full sweep every 10-20 seconds, reads as slow, natural movement rather than a wobble. Faster rates start to sound rhythmic instead of ambient, which is usually not the effect you want from a pad.
How long should the reverb decay be?
A decay of 4-8 seconds at a 25-40% mix generally gives enough space for an evolving pad without dissolving the chord into noise. Shorter decays keep more definition; longer ones suit slower, more ambient material at the cost of clarity.
Can I use a real string sample library instead of a synth patch?
Yes, and it often gives a head start, since real bow noise and ensemble timing are already in the recording. Apply the same envelope, filter and effects steps above on top of the sample; you are shaping an existing texture rather than building one from scratch.
What tempo range works best for this kind of pad?
The pad itself is tempo-independent, but the automation timing should match the track: at 70-90 BPM, an 8-16 bar sweep runs about 24-55 seconds, which fits comfortably under a verse or an ambient section without repeating.
Want a starting point that already fuses string instruments with modern synthesis for this kind of pad? Polyscape Nova is $79 and runs natively in any VST/AU/AAX host, no Kontakt required. For more ways to use it in a mix, see Crafting Cinematic Ambience with Our Plugins.


Leave a comment
This site is protected by hCaptcha and the hCaptcha Privacy Policy and Terms of Service apply.