
Mixing is often described as a game of frequency balance, and for good reason. But too often, producers reach for subtractive EQ to "carve out space" for every instrument. The fastest way to make space in a mix without EQ is to fix the problem at its source: dynamics, volume, arrangement and stereo placement, saving EQ cuts for when they are truly needed.
In this article we'll show you how to make room for every element in your track without over-EQing. From dynamics to dimension, from arrangement to automation, these techniques preserve your sound's character instead of thinning it out.
When EQ Becomes the Problem, Not the Solution
Subtractive EQ is often the first move when two instruments clash. But excessive cuts, especially stacked across multiple tracks, can lead to dull, thin and disconnected mixes. You might solve the masking issue, but at the cost of losing the character of the sounds you worked hard to create.
The real issue is that frequency masking is often a timing, spatial or dynamic problem, not just a tonal one. If your mix already feels flat even after EQ moves, over-EQing usually is not the only cause. Our article on 3 Common Reasons Your Mix Still Feels Flat covers the other usual suspects.
Let Dynamics Do the Work: Dynamic EQ and Multiband Compression
Instead of permanently removing frequencies, dynamic EQ responds only when there's a clash, keeping your sounds full and alive the rest of the time. For example:
- A pad and a vocal may fight in the 2-4kHz range. Instead of carving the pad permanently, use a dynamic EQ to dip it only when the vocal is active.
- Use multiband compression to tame the low end of a bass when it overlaps with the kick, but leave it untouched during breakdowns or solo sections.
Plugins like FabFilter Pro-Q and most modern DAWs' stock EQs now include dynamic EQ modes. Try them before reaching for a static cut.
The Power of Volume and Automation
Before you touch an EQ, try turning the fader down. Sometimes the simplest solution is the best one. Volume is the most underrated tool for clarity: a slightly quieter part can instantly create space for another. Automation lets you adapt volumes in real time, ducking, lifting or fading elements depending on the section.
For example:
- If your lead synth is burying the vocal during the chorus, automate the synth volume down 1-2 dB during vocal phrases.
- Use volume automation to fade pads in and out between vocal lines, keeping the mix dynamic and engaging.
Think of it like a conversation: not everyone should talk at once.
Use the Entire Stereo Field
Why cram everything into the center when you have a full stereo canvas? Panning can instantly separate elements. Even a 10-20% pan on two clashing guitars can make a real difference. Go wider for textures, percussion and ambiance, but keep essential low-end elements like kick and bass centered for stability.
Take it a step further with mid/side processing, widening the sides of pads or delays while keeping the core mono. Automating stereo width, for example narrow verses and wide choruses, adds drama and gives each section its own space.
Dimension Effects: Push Elements to the Back
Not every instrument needs to sit upfront. Use modulation-based dimension effects to push supporting elements to the background instead of carving them out with EQ.
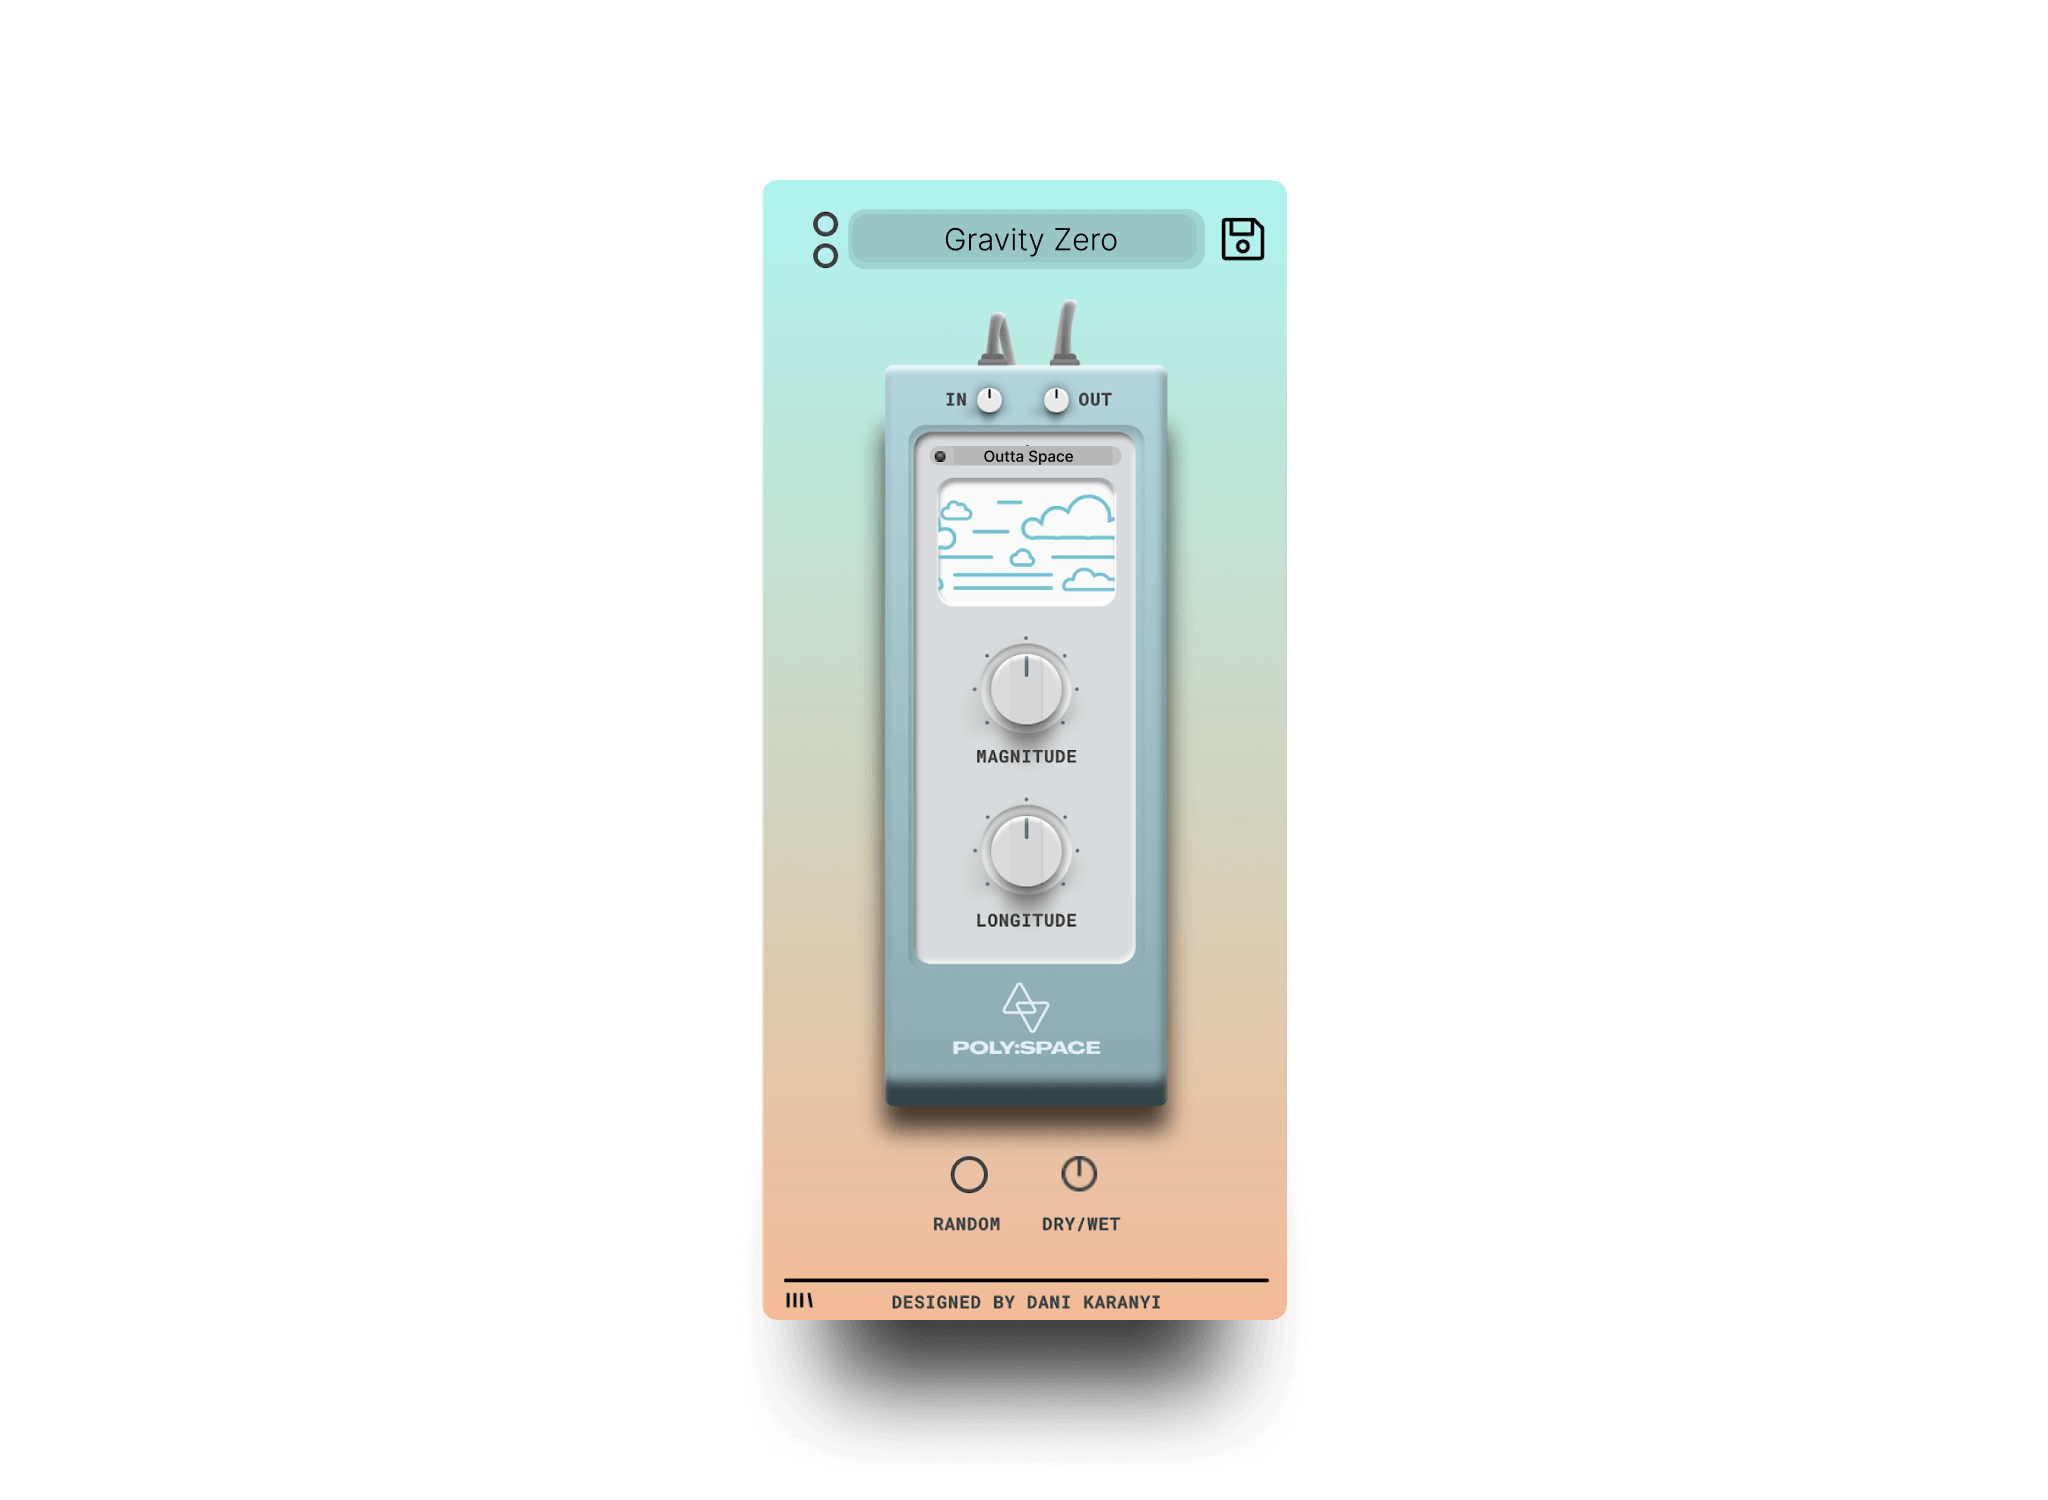
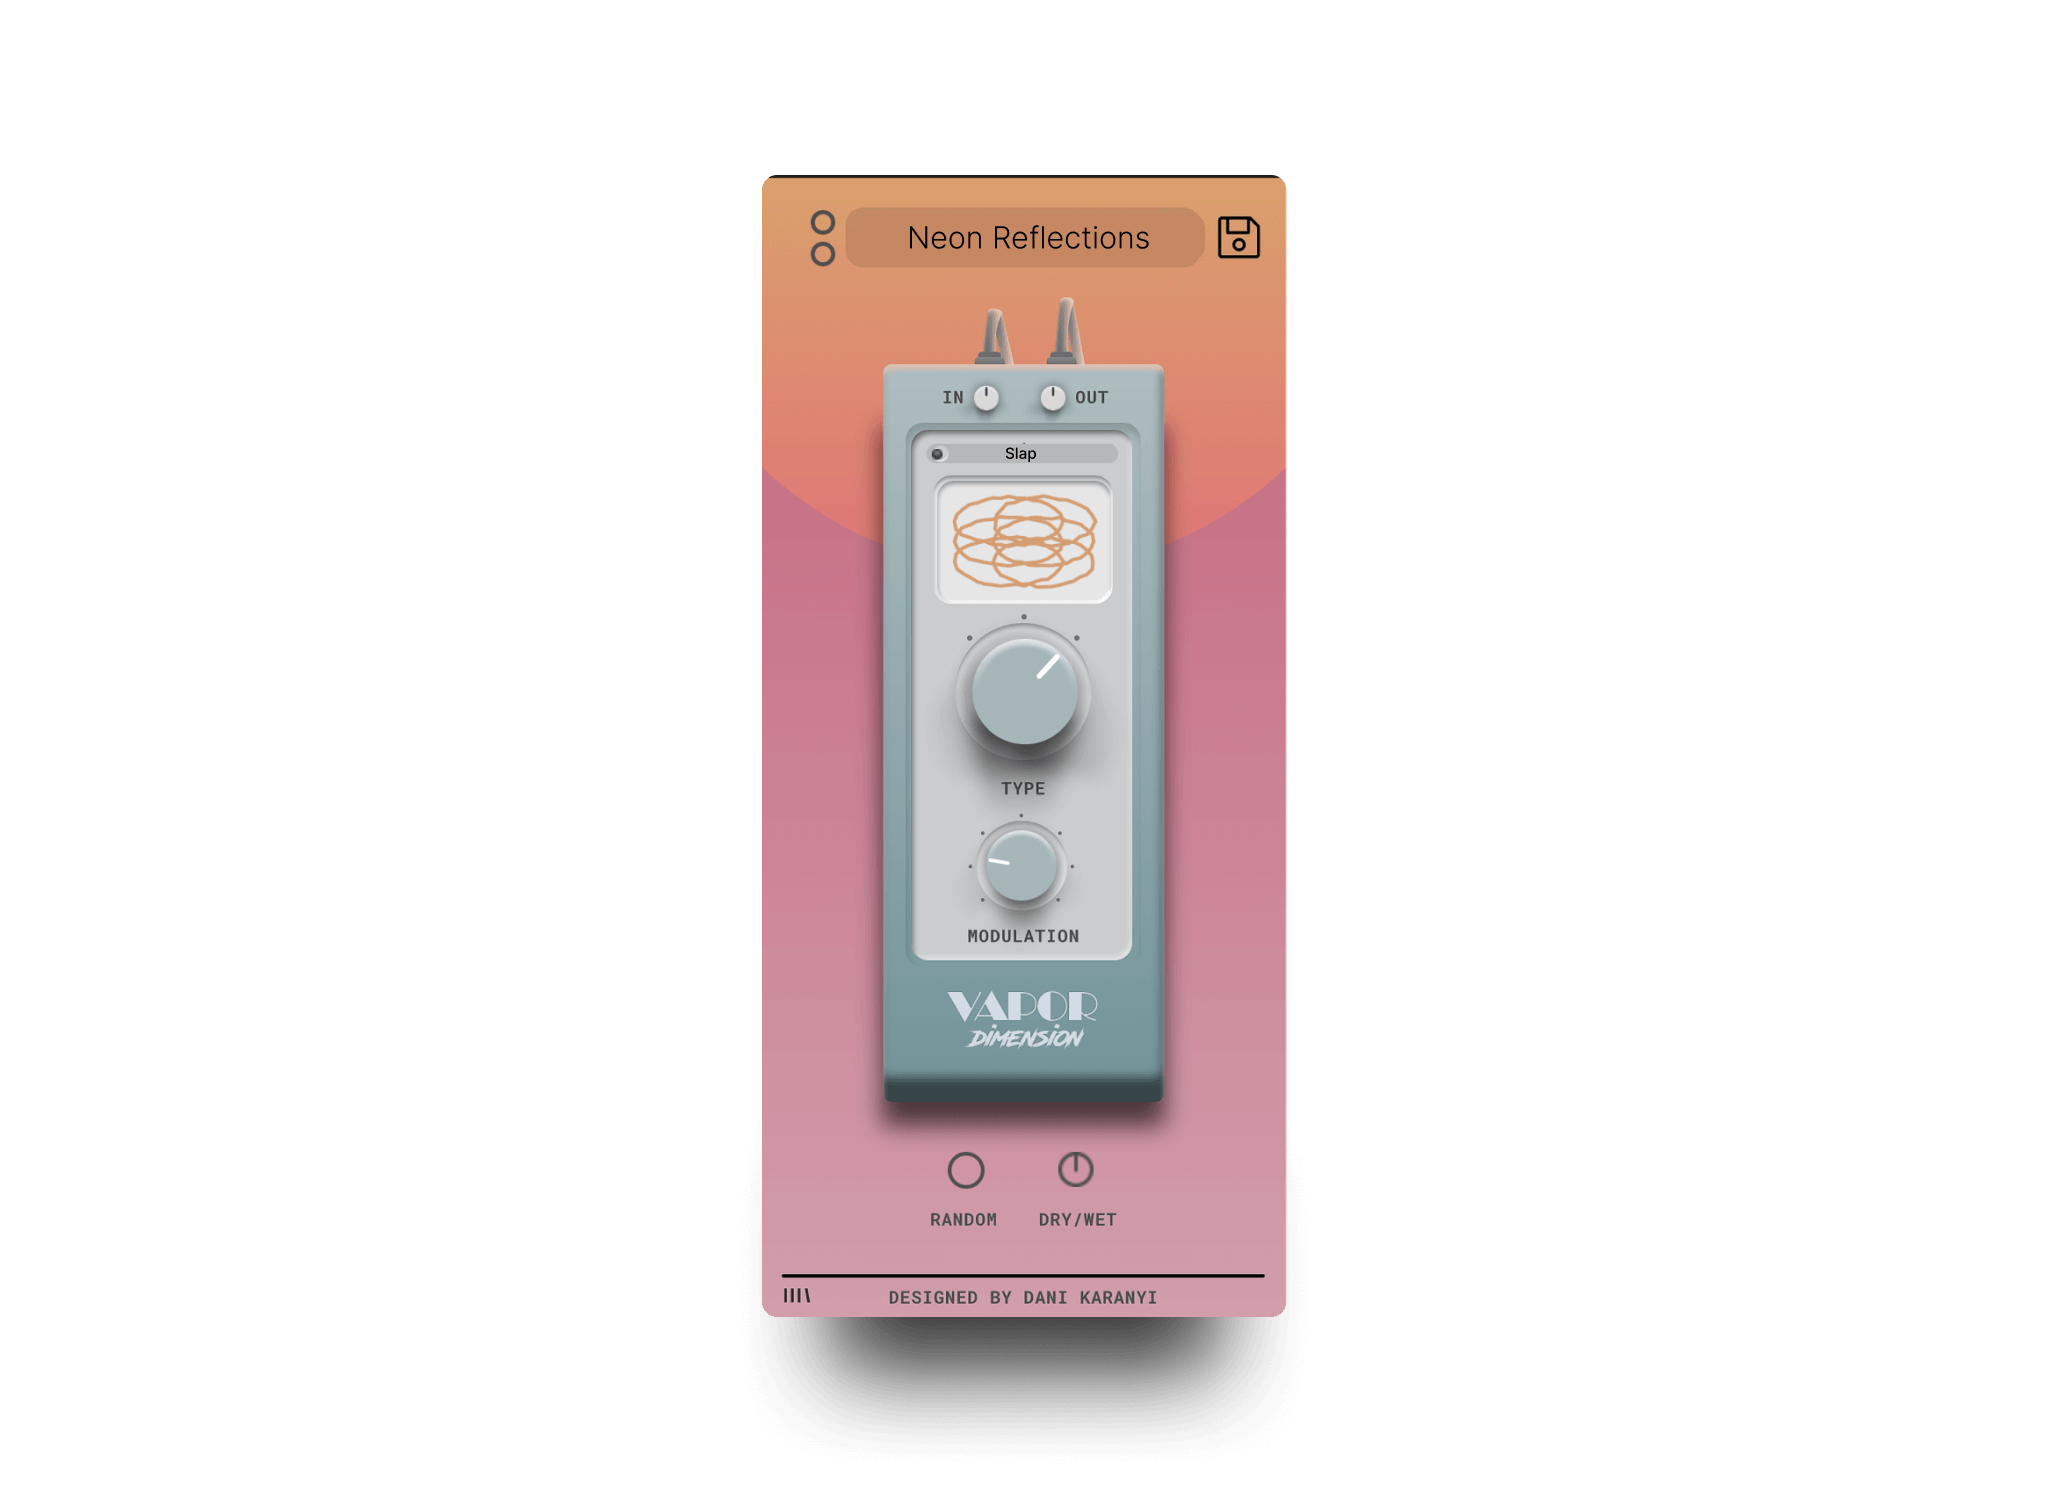
Our plugin Vapor Dimension is built for exactly this: warm phasing and chorus movement inspired by classic hardware, with simple controls that get you there quickly. It is a good option for turning a harsh pad or lead into a softer texture that supports the mix rather than competing for the same frequency space.
Use it on background vocals, pads or rhythmic elements like shakers to add depth without reaching for reverb.
Time-Based Effects for Space and Contrast
Reverb and delay can help you place instruments at different depths in the mix. Instead of drowning everything in a single large space, think strategically:
- Use short delays for vocals to add presence without masking.
- Add pre-delay to reverbs so the dry signal stays upfront while the tail pushes it back.
- Use contrasting spaces: a tight room reverb on drums, longer tails on ambient textures.
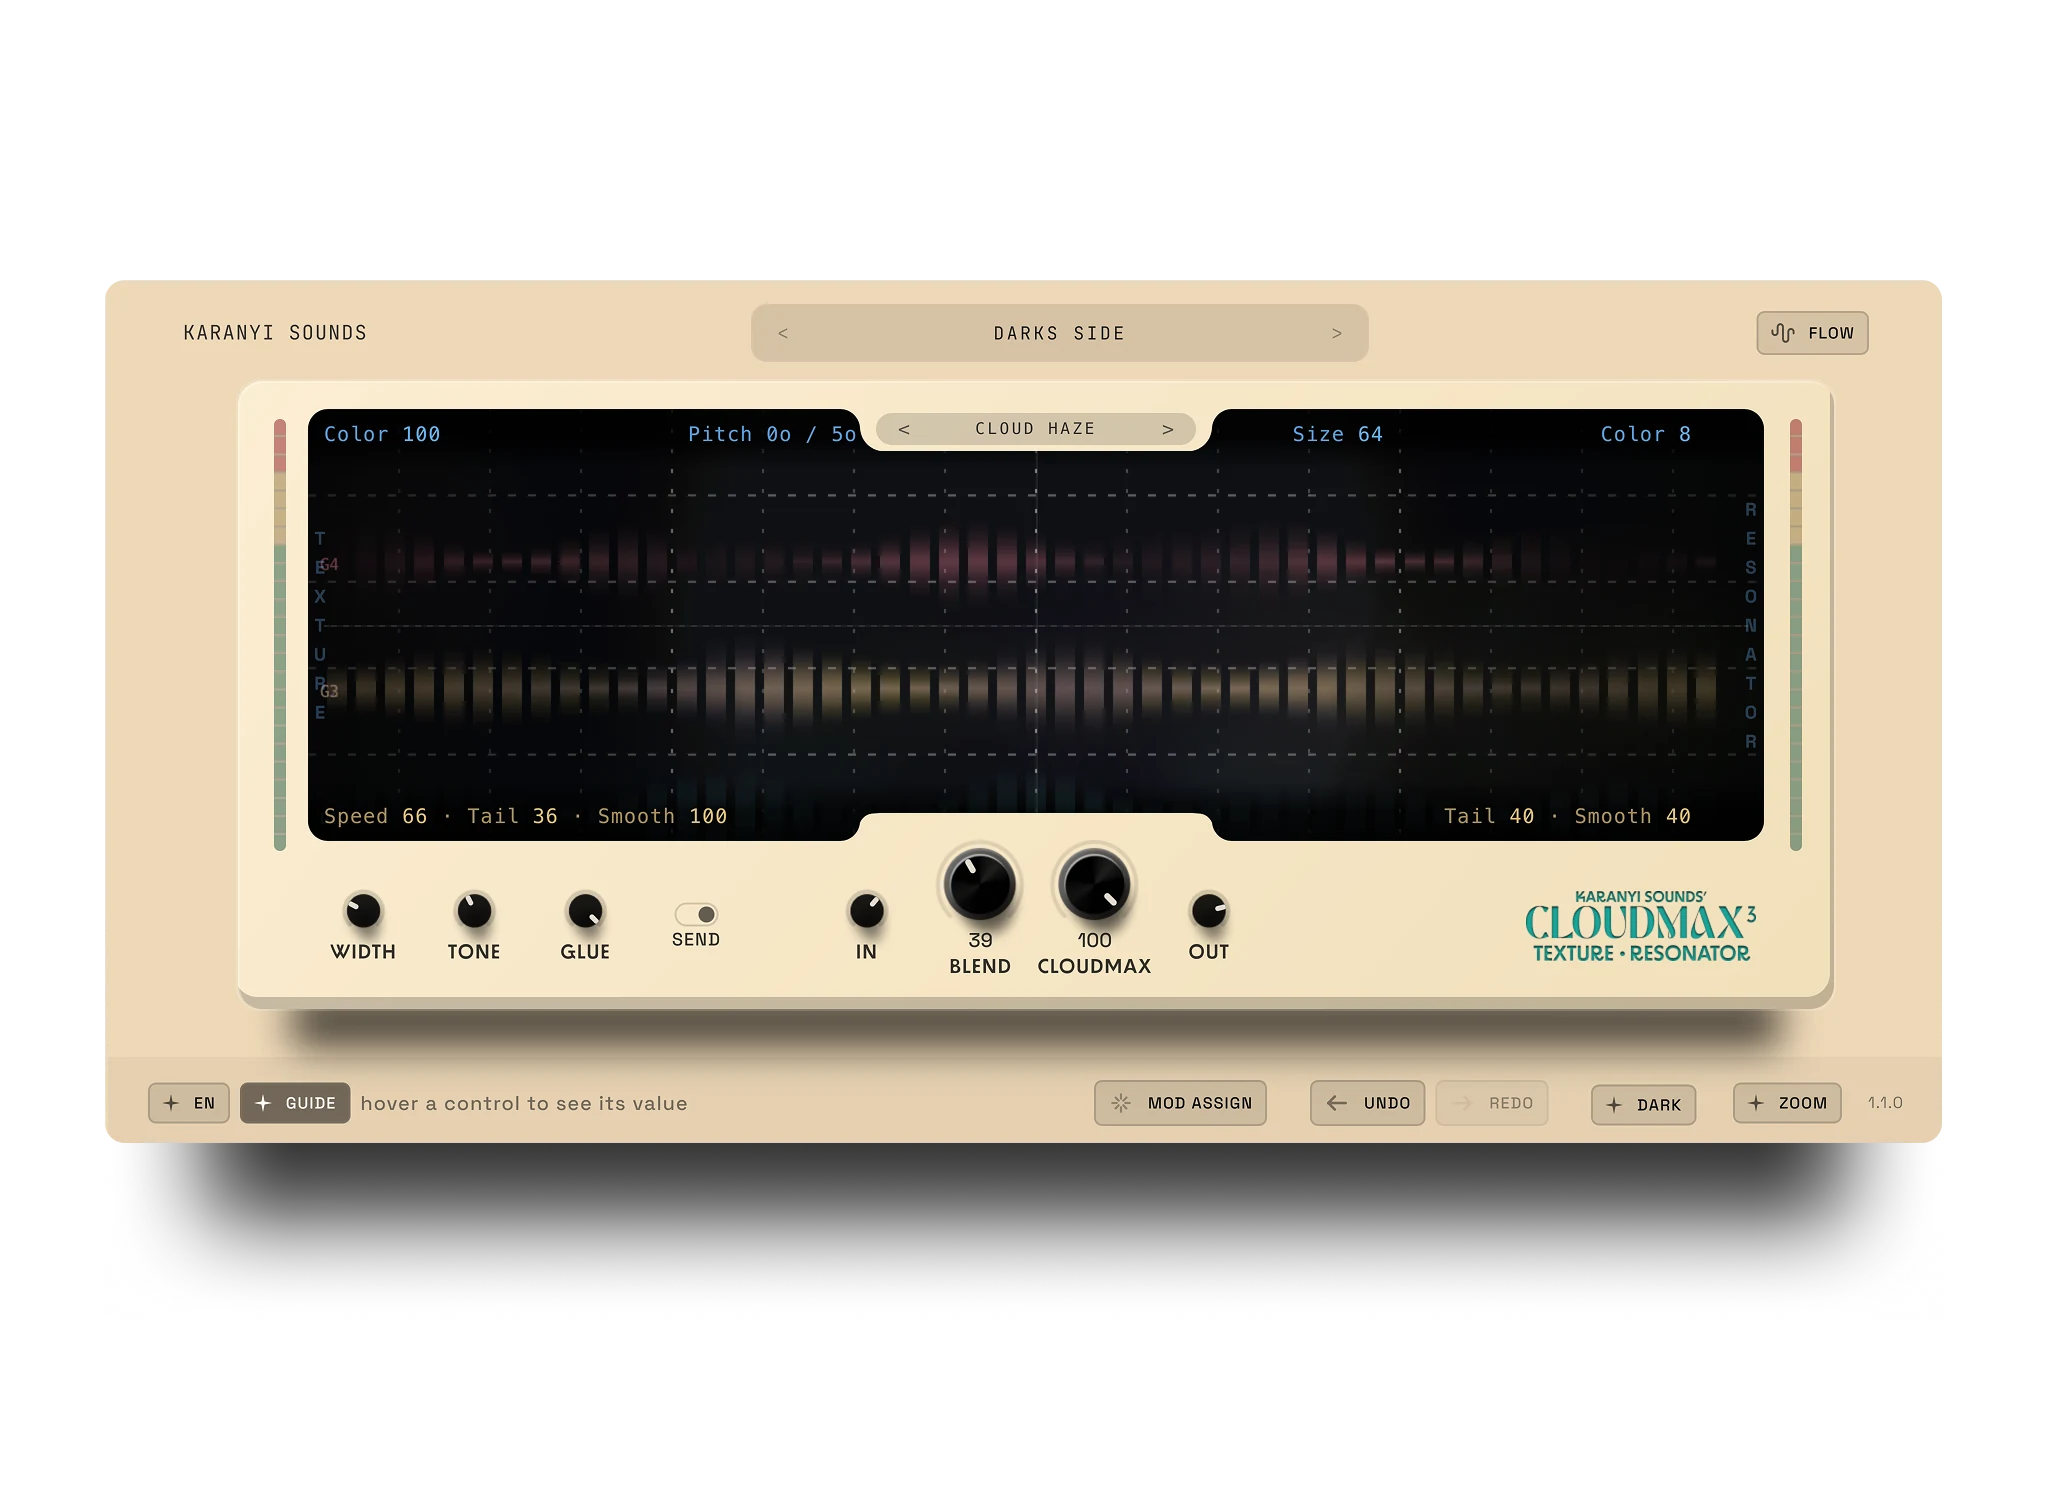
Our plugin Cloudmax 3 is a granular delay and reverb built for exactly this kind of layered space design, giving each element its own sense of depth without the mix turning into mush.
Arrangement Is Your First Mix
One of the most overlooked ways to create space is arrangement. If your intro has 12 layers and they all play at once, no amount of EQ will save it. Instead:
- Mute or delete elements that don't add something unique.
- Use call and response to give instruments breathing room.
- Avoid layering similar-sounding instruments, for example two wide-panned plucks.
Think like a minimalist: what is essential to the emotion of this section?
Timbre Selection: A Sound Design Mindset
Some sounds just don't fit together, no matter how you EQ them. Choose instruments with complementary timbres: bright versus dark, short versus sustained, thin versus thick.
A well-designed pluck might sit better next to a warm pad than a brassy one. Instead of fixing clashing frequencies after the fact, start with contrast during sound selection.
Less Is More: A Final Quality Check
Before your mixdown session, run a quality pass:
- Mute each channel. If nothing feels missing, it can probably go.
- Check for redundant layers, for example three snares doing the same job.
- Ask whether the element is doing something emotionally or rhythmically important.
Your mix will thank you. Your CPU will thank you. Your audience will feel the clarity.
The Anti-EQ Philosophy
Subtractive EQ is powerful, but it should be a surgical tool, not your default habit. Mix like a sculptor: use volume, dynamics, space, time, stereo image and sound choice as your creative chisel. Your songs will breathe, your sounds will shine, and your mix will feel alive.
Let your EQ rest and let your ears lead.
FAQ
What causes frequency masking if it is not just a tonal problem?
Frequency masking is often a timing, dynamic or spatial problem, not only a tonal one. Two sounds sharing the same frequency range clash mainly when they also play at the same time, at the same volume and in the same stereo position. Fixing the timing, level or placement usually solves it faster and more musically than an EQ cut.
What can I use instead of EQ to create space in a mix?
Volume automation, dynamic EQ, multiband compression, panning and reverb pre-delay are the main alternatives. Each one separates sounds by a different dimension, such as time, level or position, instead of permanently removing frequencies. Combining a few of these usually creates more space than a single aggressive EQ cut.
How is dynamic EQ different from a regular EQ cut?
A regular EQ cut removes a frequency range all the time, even when there's no clash. Dynamic EQ only reduces that range when a clash actually happens, for example only while a vocal is active, and lets the sound stay full the rest of the time. This keeps more of the original character of the track.
Does panning really replace the need for EQ?
Panning does not remove the need for EQ entirely, but it reduces how much EQ you need. Two instruments that share a frequency range mask each other far less once they are placed in different parts of the stereo field. Keep low-end elements like kick and bass centered, and use panning for guitars, pads and other supporting parts.
Is subtractive EQ ever the right choice?
Yes. Subtractive EQ is still the right tool for removing genuine problem frequencies, such as boxiness, harshness or rumble that no arrangement or automation change will fix. The goal is not to avoid EQ completely, but to stop using it as the default fix for every clash before trying dynamics, volume and arrangement first.
Want tools built for space-with-character rather than another set of EQ bands? Take a look at Cloudmax 3 for granular reverb and delay that gives every layer its own sense of depth.



3 comments
Richard Domina
Great tips. Thank you! Just what i need!
edmilson
muito boa a dica vou colocar em pratica
Ged
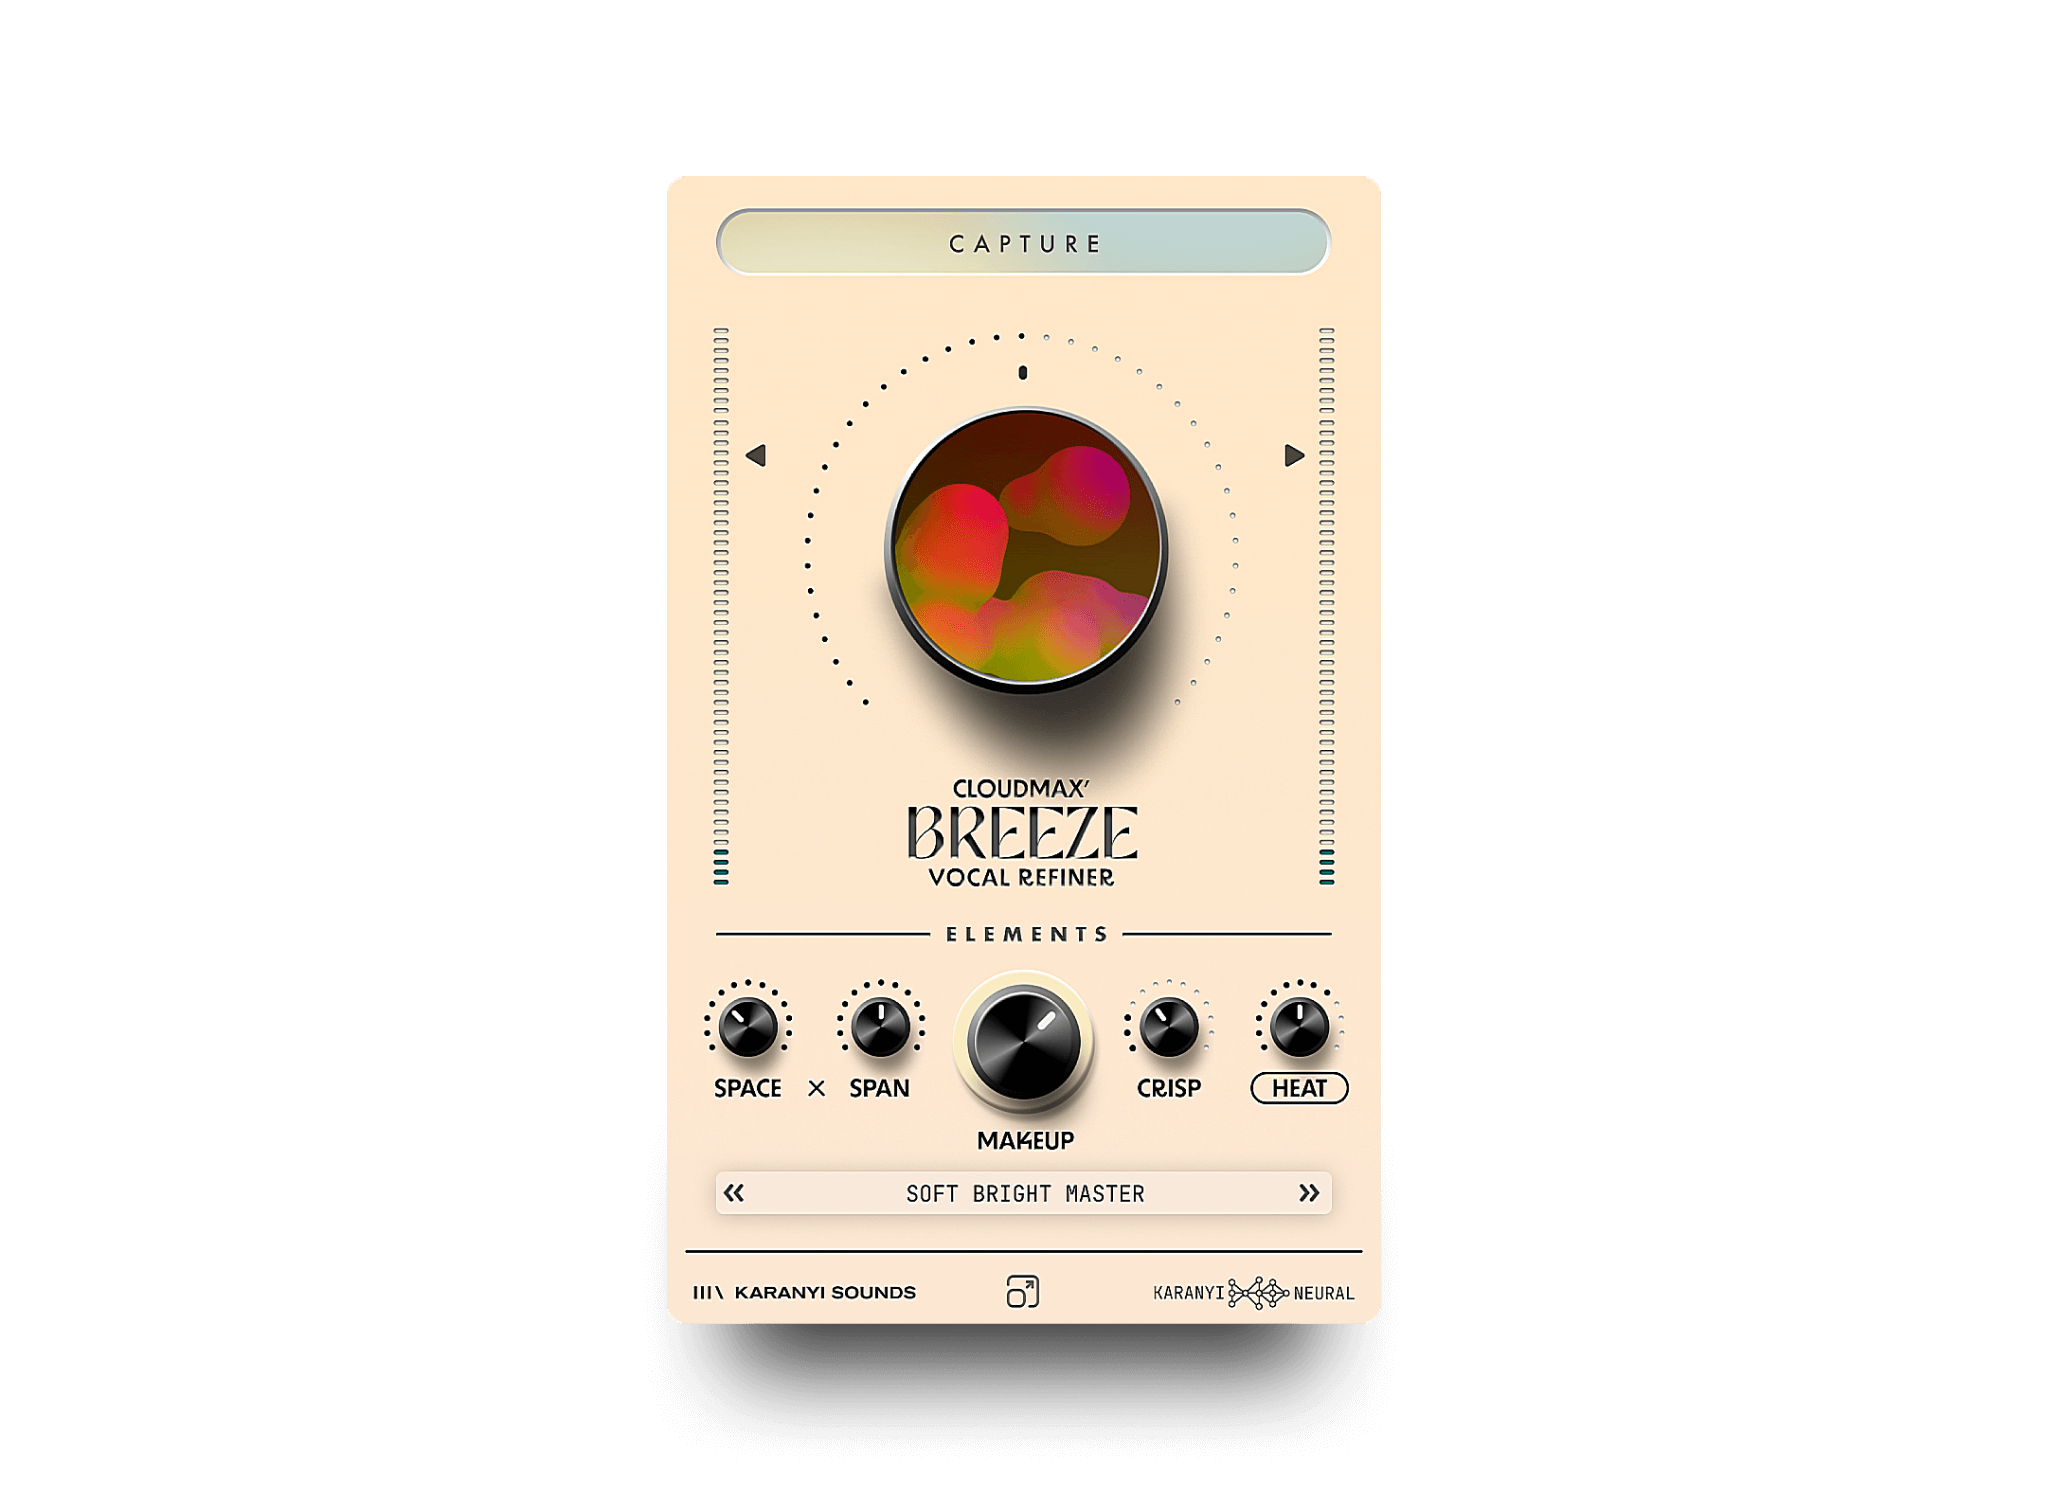
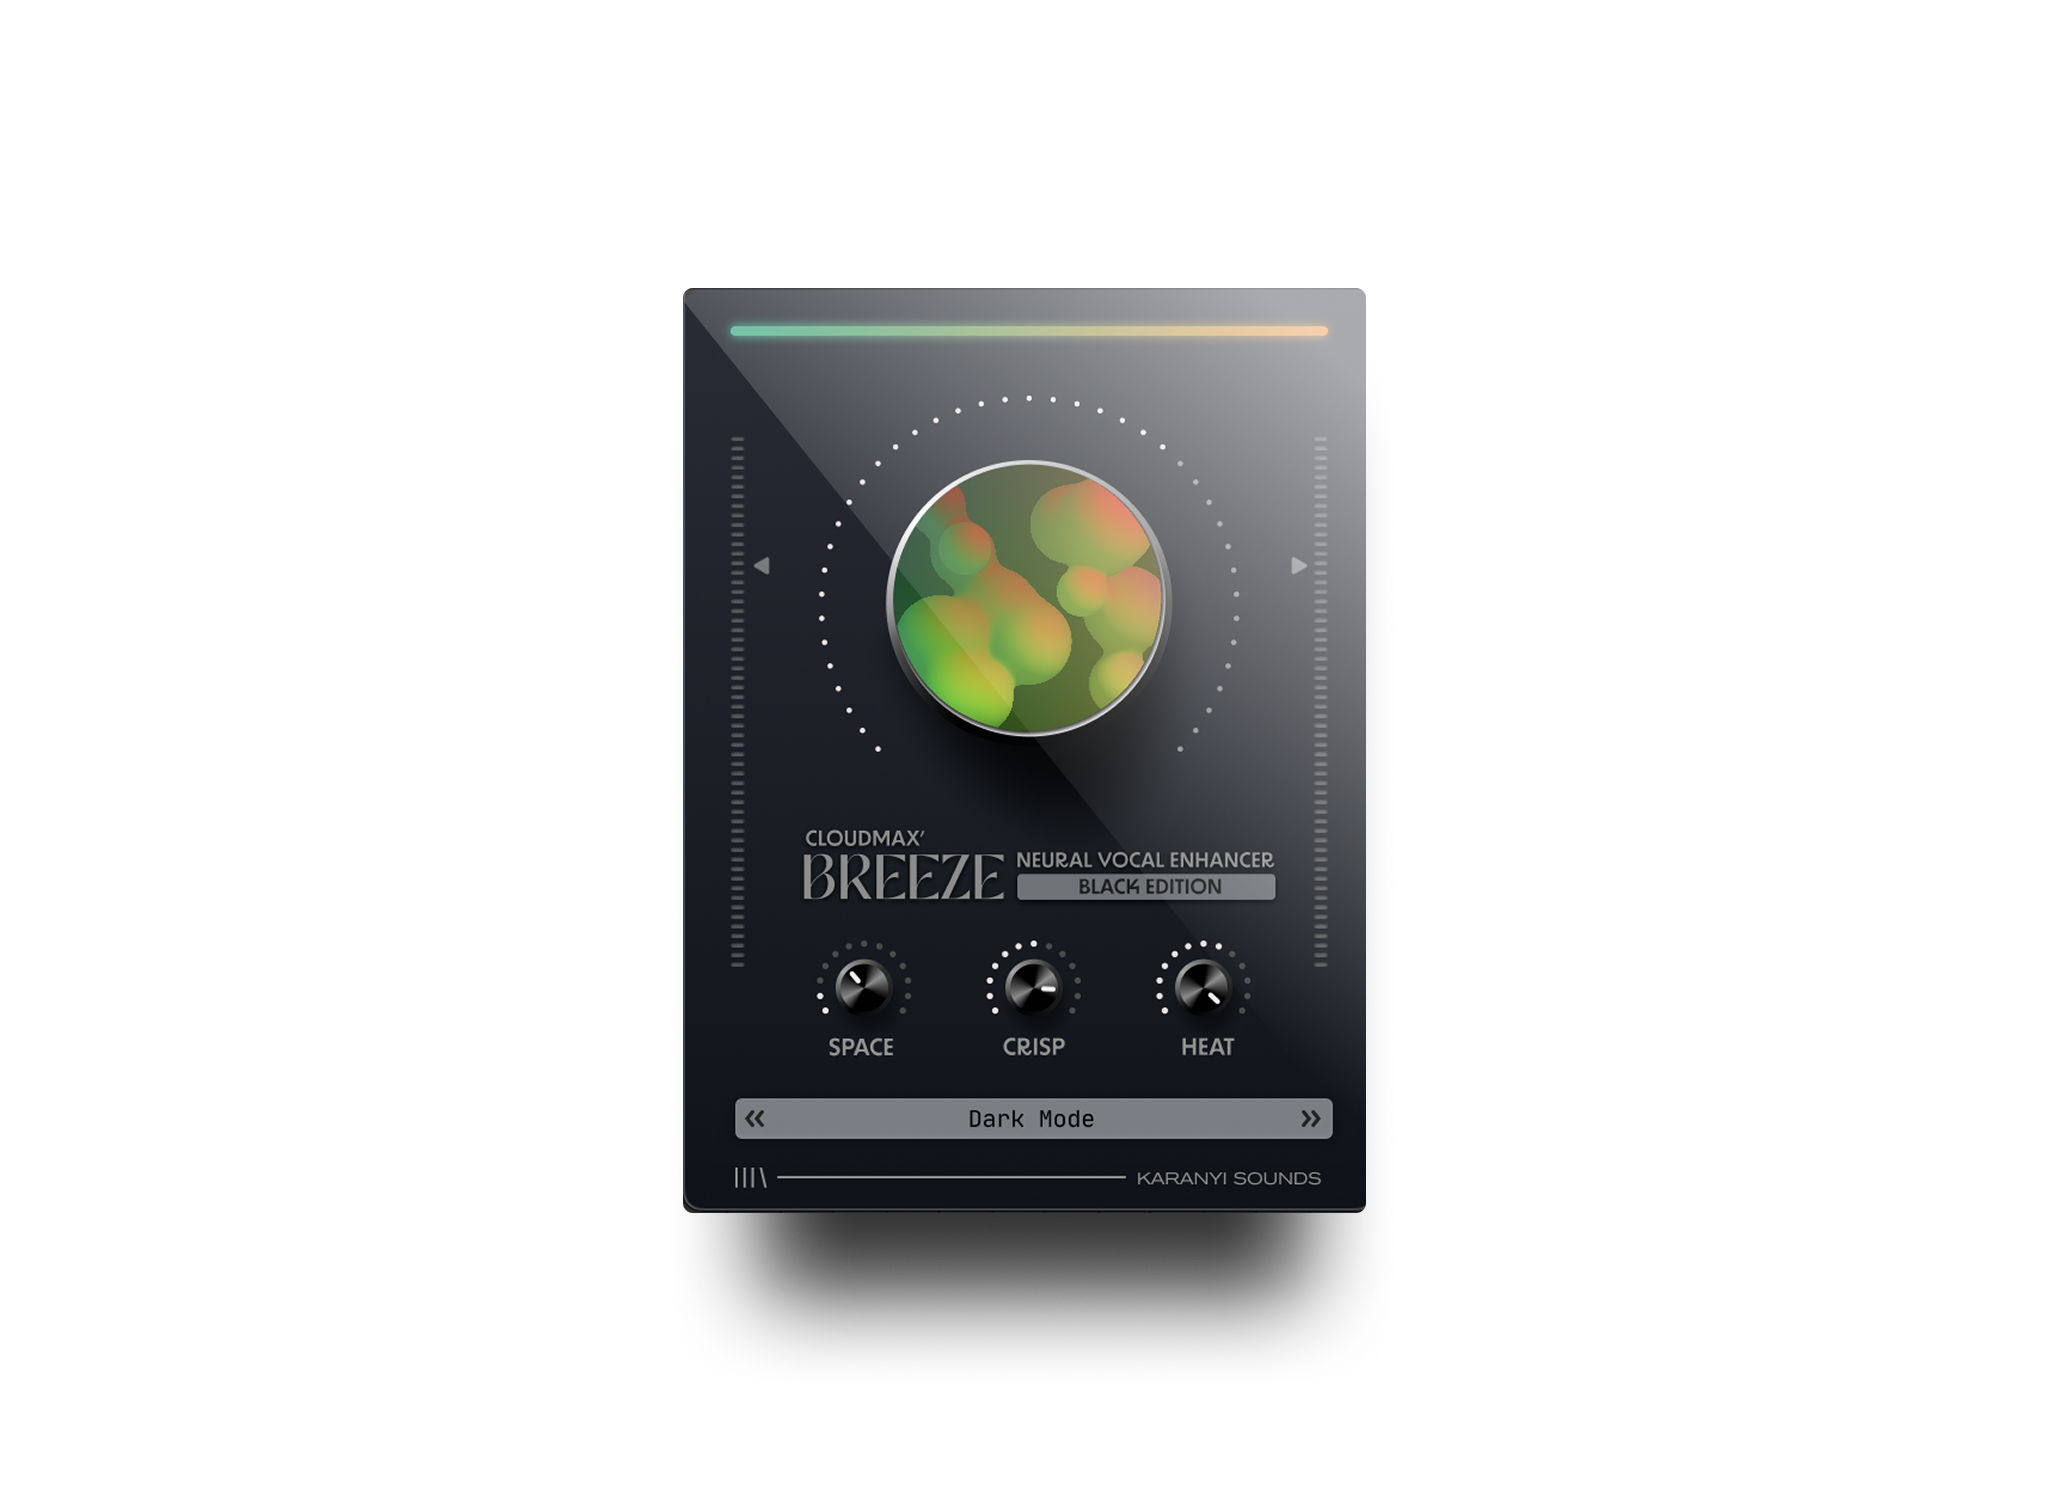
Our plugins Cloudmax 2 and Cloudmax Breeze are designed for this exact purpose. They offer musical reverbs and delays that react to your sound’s character, making it easier to create space with personality. Cloudmax Breeze is especially useful for subtle lifting without over-processing, while Cloudmax 2 gives you full control when designing rich, evolving sound stages.
Care to elaborate with possible video examples of how to achieve this?
Kind regards.
Ged Rodger
Leave a comment
This site is protected by hCaptcha and the hCaptcha Privacy Policy and Terms of Service apply.