Designing Drums in Modern Electronic Music: From Mindset to Mastery
May 7, 2025In modern electronic music, drum design is not just about getting things to “hit hard”. It’s about sculpting the emotional and rhythmic backbone of your track. Whether your beats are meant to punch through a club system or gently pulse beneath a cinematic score, great drums always start with intention.
Let’s break down the process from mindset to the most advanced creative techniques, with real-world insights and production context.
Step 1: Start With the Right Mindset
Before reaching for your sample packs or plugin chain, ask yourself:
- What role do the drums play in this track?
Are they leading the groove (e.g., in techno, trap), or just adding pulse behind melodic or harmonic elements (like in ambient or cinematic music)? - What energy are you trying to convey?
Tight and aggressive? Loose and dusty? Big and epic? This influences every design choice, from sample selection to saturation type. - Should the drums be upfront or in the background?
If they’re the focal point, go for transient clarity and full frequency presence. If not, soften the transients, filter the highs, and use more space and ambience.
🎯 Establishing intent first makes all downstream decisions much faster and more cohesive.
Step 2: Smart Sample Selection. Genre + Mood
Sample choice is 80% of drum design. Here’s how to choose wisely:
- Genre Matching:
- Trap: Punchy, short kicks (other than 808s), and fast attack snares.
- Lo-fi: Textured, dusty one-shots with noise layers.
- Techno: Clean but powerful 909-style kicks, with minimal high-frequency content.
- Mood Matching:
- Melancholy: Softer, filtered hits with long tails.
- Energetic: Snappy, bright, and short samples with high midrange content.
Pro Tip: Before processing, pick the right sample for the job. A well-chosen snare might need no EQ. This minimizes over-processing later and keeps your drums clean.
Step 3: Core Drum Design Techniques
1. Intentional Layering
Build complexity by layering:
- Kicks: Combine a sub layer (sine or pitched 808), a body sample, and a high-frequency transient.
- Snares: Use a crack for the transient, a body layer (maybe a clap), and a tail (plate reverb, white noise, or even foley).
Why: Each layer plays a different frequency role. Separating them allows surgical EQ and creative shaping.
2. Envelope Shaping for Groove Control
Adjust ADSR envelopes to refine dynamics:
- Short decay: Tightens hats or claps, ideal for fast, groovy tracks.
- Longer release: Adds ambience or swing (especially for background percs).
Context: Lo-fi beats often extend decay for laid-back feel. Tech-house keeps hats tight to preserve forward momentum.
3. Channel-Level Processing: Detail & Control
Each drum element benefits from its own FX treatment:
- Transient Shapers: Emphasize the attack without compression. Best for snare cracks or bringing life to dull kicks.
- EQ: Use surgical cuts to clean up clashing frequencies. Boost presence only when needed, avoid stacking harshness.
- Clippers: Ideal for loud genres (trap, DnB, dubstep). They push perceived loudness while preserving transients better than limiters.
- Saturation (Insert FX): Adds warmth and harmonic richness. Insert saturation is great for tonal shaping of a single hit, but keep reading for a more flexible option…
Step 4: Drum Bus Processing – Glue and Energy
Once your individual hits sound good, you need to glue them together and add character at the group level.
1. Parallel Compression
Blend a crushed version of the drums with the clean signal.
- Why: You get the power and thickness of compression without losing transients or punch.
- When to use: In any genre where drums need to feel “larger than life” (EDM, pop, trap).
2. Parallel Saturation / Distortion
Similar to compression, but this time, you’re blending in harmonic coloration.
- Why not use insert saturation? Insert FX apply saturation to the whole signal, often dulling transients or overcooking the tone. Parallel lets you keep clarity while adding energy.
- How to do it: Duplicate your drum bus, apply heavy saturation/distortion (e.g., Decapitator, Karanyi’s Vintage Drive), then blend to taste.
- When to use: Great when your drums sound too “clean” or sterile, especially in digital mixes.
3. Bus EQ & Limiting
Subtle tone shaping and level control:
- Use a gentle tilt EQ to brighten or darken the whole group.
- Apply a limiter only if you need to catch sharp peaks, not as a volume maximizer! (At this point)
Step 5: Advanced Techniques & Sound Design
1. Resampling & Reprocessing
Once your drums sound good, mess them up:
- Reverse them, pitch them, slice and glitch them.
- Combine original and mangled versions for depth.
Use case: IDM, glitch, experimental transitions.
2. Foley Percussion
Use non-drum recordings (e.g., zippers, key clicks, rustling) as percussive textures.
- How: Cut and process like a snare or hi-hat, then layer subtly under main drums. Add compression to glue them together, optionally EQ them to avoid resonant frequency build-ups.
- Why: Adds uniqueness, nobody else has your kitchen-sink clap.
3. Wavetable & Granular Percussion
Add drum layers using synths like Vital, Serum, or Diva.
- Use random LFOs to modulate wavetable position.
- Load transient samples into granular engines for texture.
Context: Excellent for synthetic genres (hyperpop, synthpop, experimental electronica).
4. Creative Effects: Unexpected Textures
Think out of the box: use effects that are meant to be used for something else.
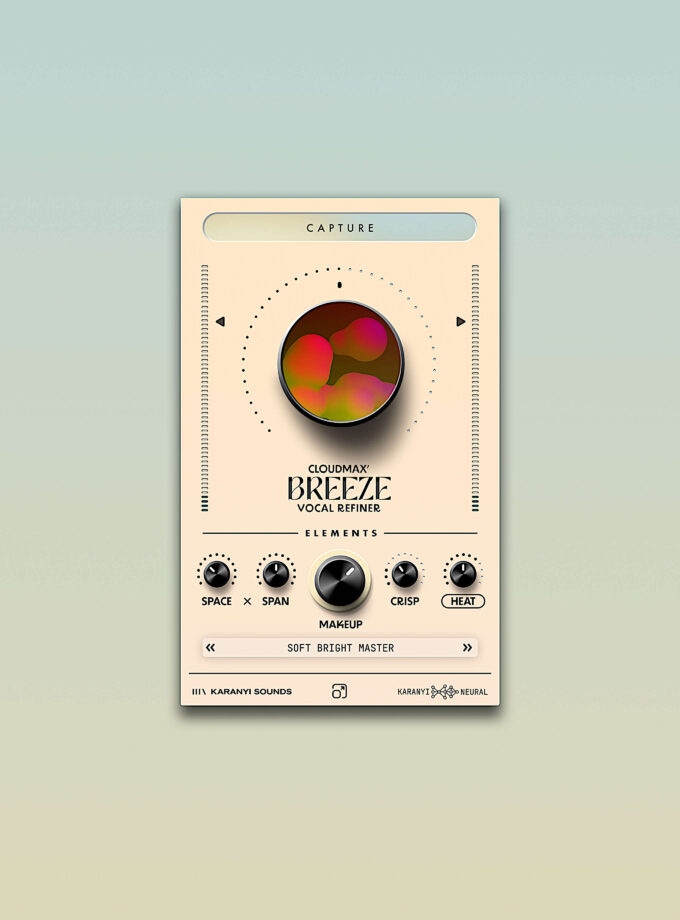
E.g. Cloudmax Breeze, originally built as a vocal enhancer, also shines on drum groups.
- Why it works: Its neural-based spectral shaping enhances spatial width and movement.
- Try this: Run your snare or hat bus through Breeze on a low mix setting: instant shimmer and polish with an airy vibe. Perfect for ambient or lo-fi.
Use creative FX when you’re looking for subtle magic or trying to escape the obvious.
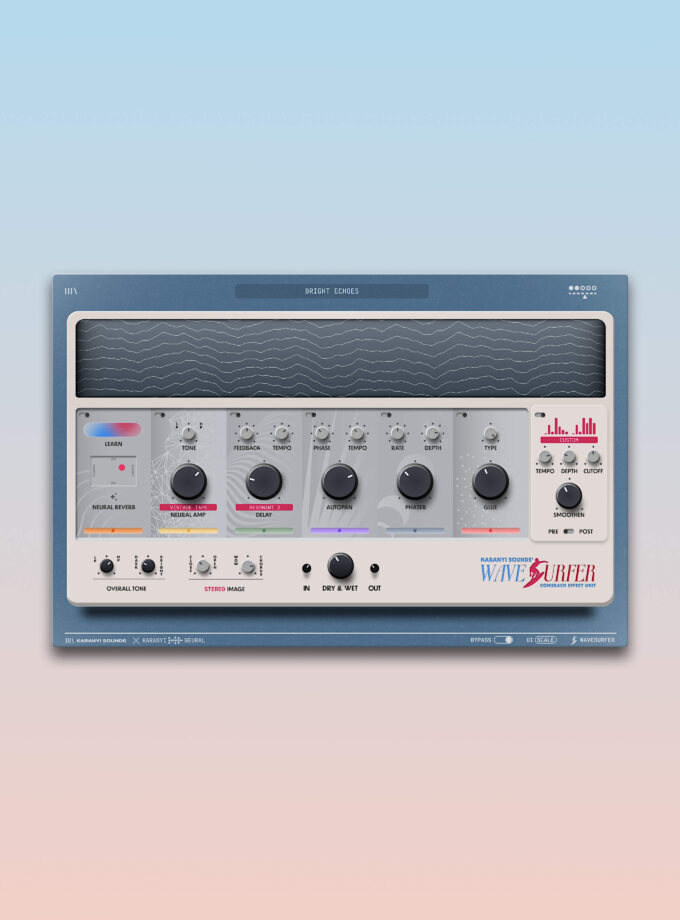
5. Modulated Filtering
Use rhythmic LFOs or tools like Smoothen (in Wavesurfer) to apply creative movement:
- With low intensity, it acts like a dynamic EQ, creating subtle motion.
- Crank it up and automate for rhythmic filtering synced to your beat.
Final Thoughts: Design in Context
Your drums are only as good as how they fit the track. A kick that punches solo may fight with the bass. A snare that cracks in isolation may be too harsh with the vocal.
- Check your drums in the full mix.
- Use reference tracks.
- Treat your drum design as a conversation with your other elements, not a monologue.
Key Takeaways
- Start with intent. Know the purpose and vibe before touching a plugin.
- Sample selection matters. Don’t fix with FX what you can solve with a better sample.
- Use layering and envelopes to shape personality and groove.
- Channel FX = detail; Bus FX = glue. Use both.
- Parallel FX are gold. Especially compression and saturation.
- Experiment freely. Foley, AI, granular: today’s “mistake” might be tomorrow’s signature sound.
Always design in context. Your drums should serve the song, not just your solo button.