
To add tape and vinyl character to any sound, stack 4 small imperfections in this order: saturation, pitch drift (wow and flutter), bandwidth loss and noise. Keep each one subtle and blend the chain in parallel, so the result reads as "recorded on old gear" instead of "broken plugin".
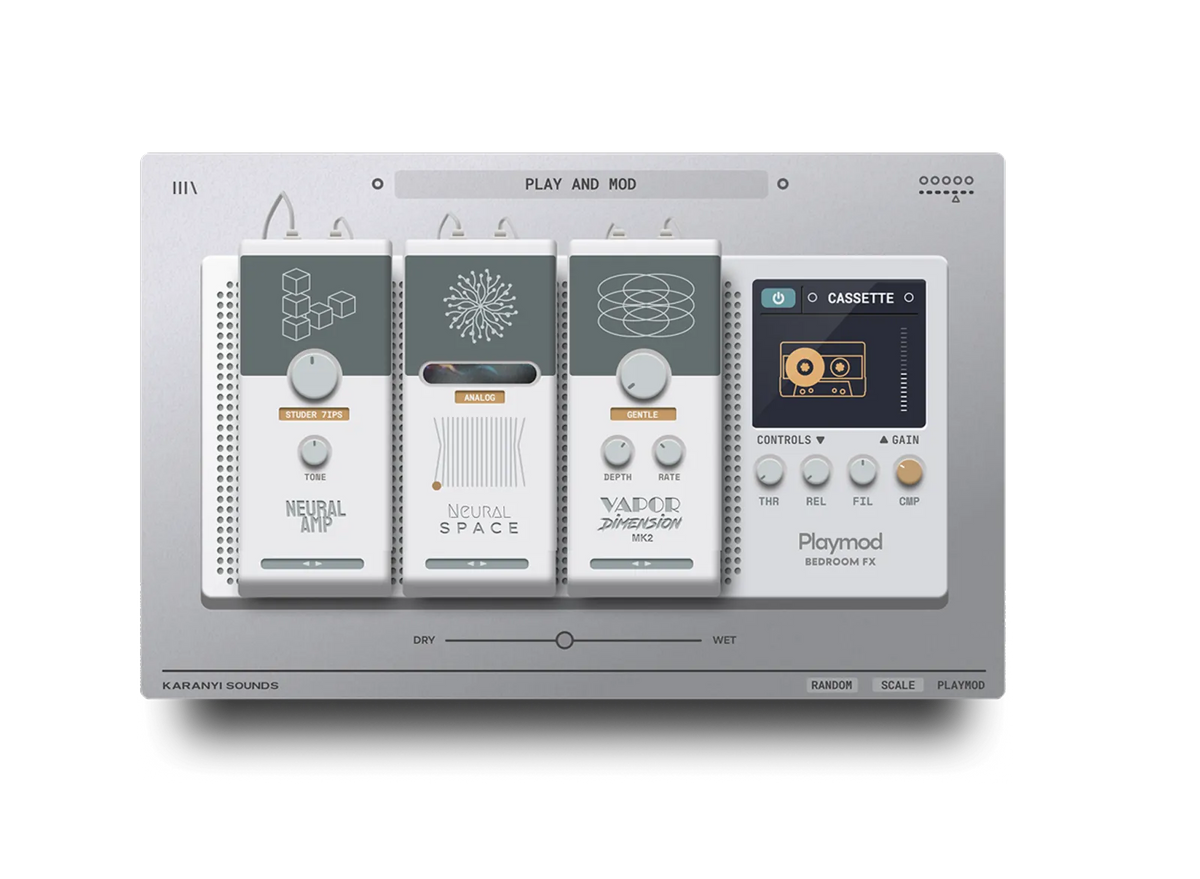
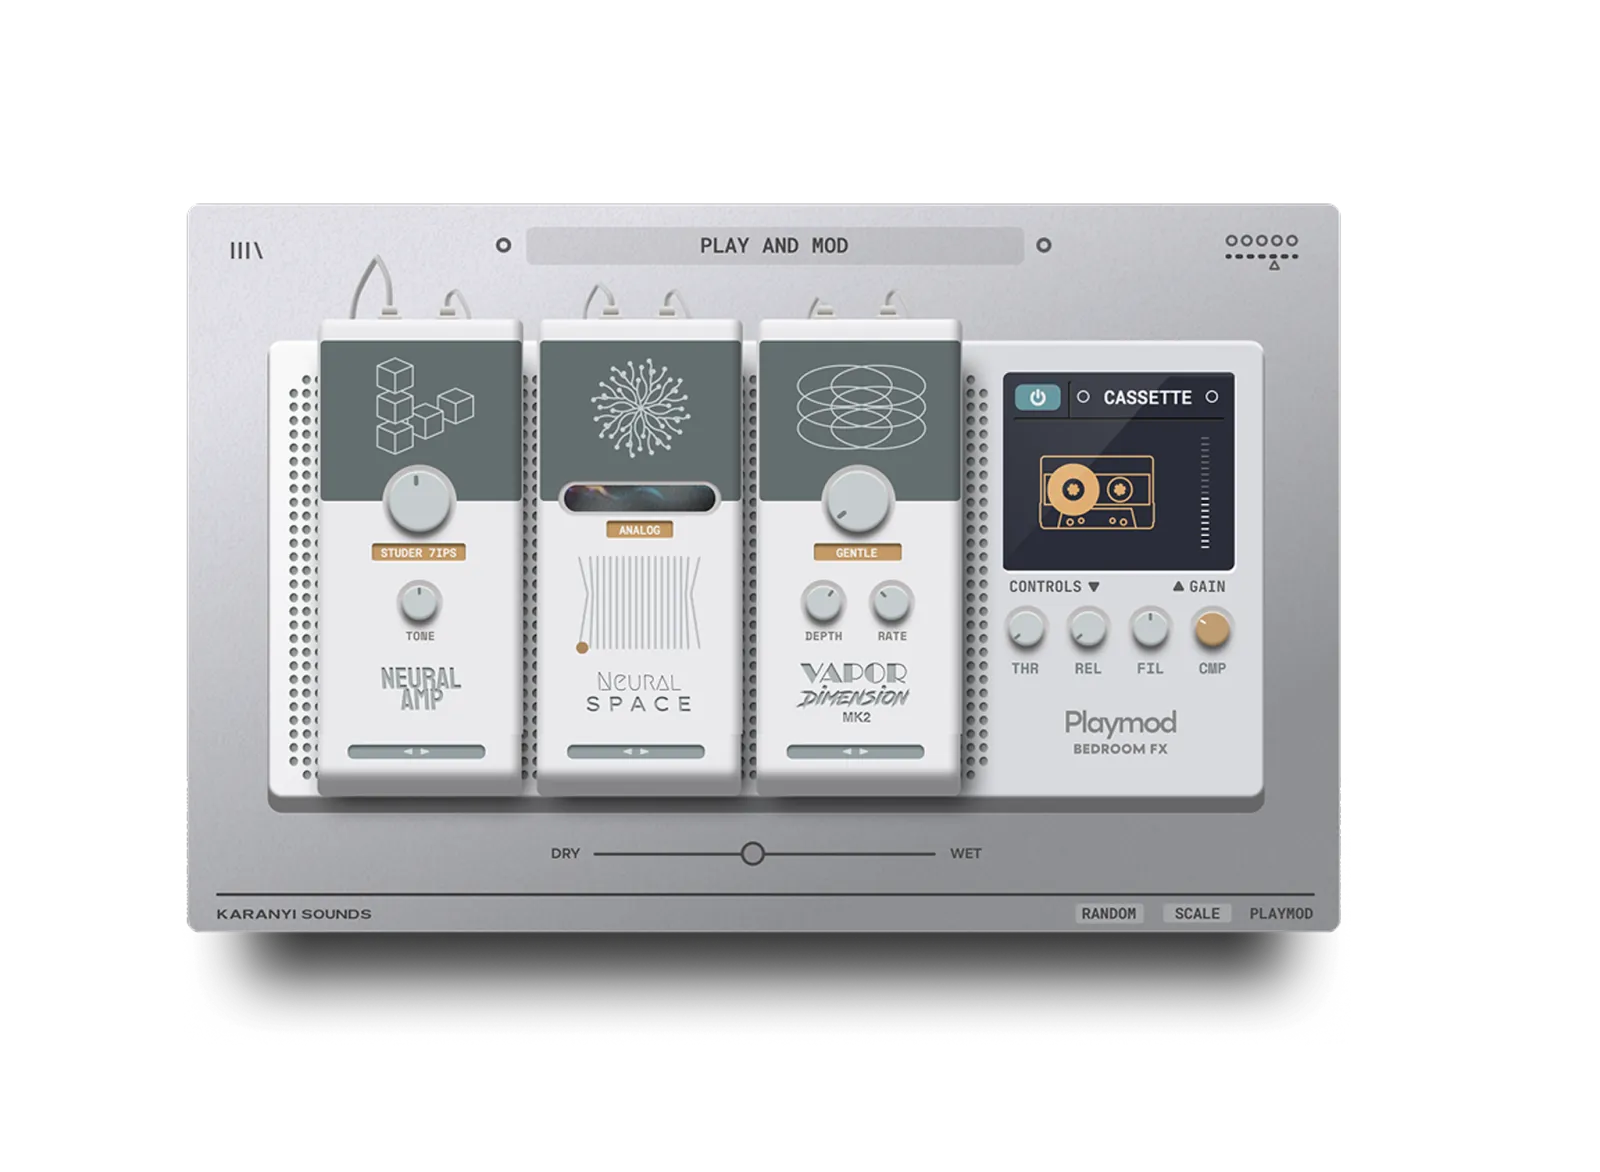
You can build that chain from separate plugins, or use a single tape vinyl effect plugin like Playmod that holds the whole chain in one window. The steps below work either way, in any DAW.
Tape vs vinyl: what you are actually copying
Tape and vinyl get lumped together as "lofi", but they wear a sound down in different ways. Knowing which one you want saves a lot of knob turning.
| Trait | Tape | Vinyl |
|---|---|---|
| Pitch movement | Slow wow plus faster flutter from an uneven transport | Mostly slow wow, 1 cycle per rotation of the record |
| Noise | Steady hiss | Crackle, pops and low rumble |
| Tone | Softer highs, rounded transients, thicker low mids when driven | Trimmed top and bottom, low end usually kept in mono |
| Typical use | Keys, guitars, drum bus, full stems | Samples, loops, intros, interludes |
Step by step: the tape and vinyl chain
- Pick what carries the character. Choose 1-2 elements: keys, guitar, a sample, a pad or the drum bus. Leave the sub bass and the lead vocal mostly clean. If everything is worn, nothing sounds worn.
- Saturate first. Raise the drive until the peaks start to round off, then back off a little. You want transients that sound softer, not fuzzy. Match the output level to the bypassed signal, because louder always sounds better and will fool you. On drums, listen to the snare: if the crack is gone, lower the drive.
- Add wow. Wow is the slow pitch drift. Start with a rate of 0.5-1 Hz and a depth you can only just hear on a sustained chord. For a vinyl feel, use the record's own speed: a 33 1/3 rpm record turns 0.56 times per second, so a wow rate around 0.56 Hz mimics an off-center pressing. A 45 rpm record gives 0.75 Hz.
- Add flutter, sparingly. Flutter is the faster wobble, roughly 4-10 Hz, and it belongs to tape more than to vinyl. Keep the depth very low. It should add a slightly grainy shimmer to piano and guitar sustain, not a vibrato. Skip it for a pure vinyl sound.
- Narrow the bandwidth. On the effect layer, set a high cut somewhere around 6-10 kHz and a low cut around 80-150 Hz. Cassette-style sounds sit at the darker end of that range. For vinyl, go gentler on the high cut and keep everything below about 150 Hz in mono.
- Add noise on 1 bus. Hiss for tape, crackle for vinyl. Set the level so you can hear it in the gaps between notes, then pull it down until you only notice it when you mute it. Put the noise on a single bus, not on every channel.
- Blend in parallel and automate. Put the chain on a send or a duplicate track and start at 20-40% wet. Then give it a job in the arrangement: a drier verse and a dirtier hook, or a filtered, wobbly intro that opens up when the drums come in. More on that in Your Intro Is a First Impression.
Starting points by source
- Electric piano and keys: medium saturation, wow at 0.5-0.8 Hz, a touch of flutter, high cut near 8 kHz. This is the classic lofi chord sound.
- Drum bus: saturation in parallel at 20-30% wet, no wow, very light flutter or none. Pitch drift on a kick smears the low end.
- Guitar: light saturation, wow at 0.5 Hz, hiss instead of crackle. It reads as a 4-track demo.
- Sampled loop: vinyl treatment. Wow at 0.56 Hz, crackle, low end in mono, no flutter. It makes a fresh loop sound like it was lifted from a record.
- Pads and textures: the place to push it. More wow depth, darker filter, more noise.
- Vocals: a small amount of saturation and almost no wow. Pitch drift on a lead vocal sounds out of tune fast. Save the heavy version for ad-libs, doubles and chops.
The fast way: 1 plugin for the whole chain
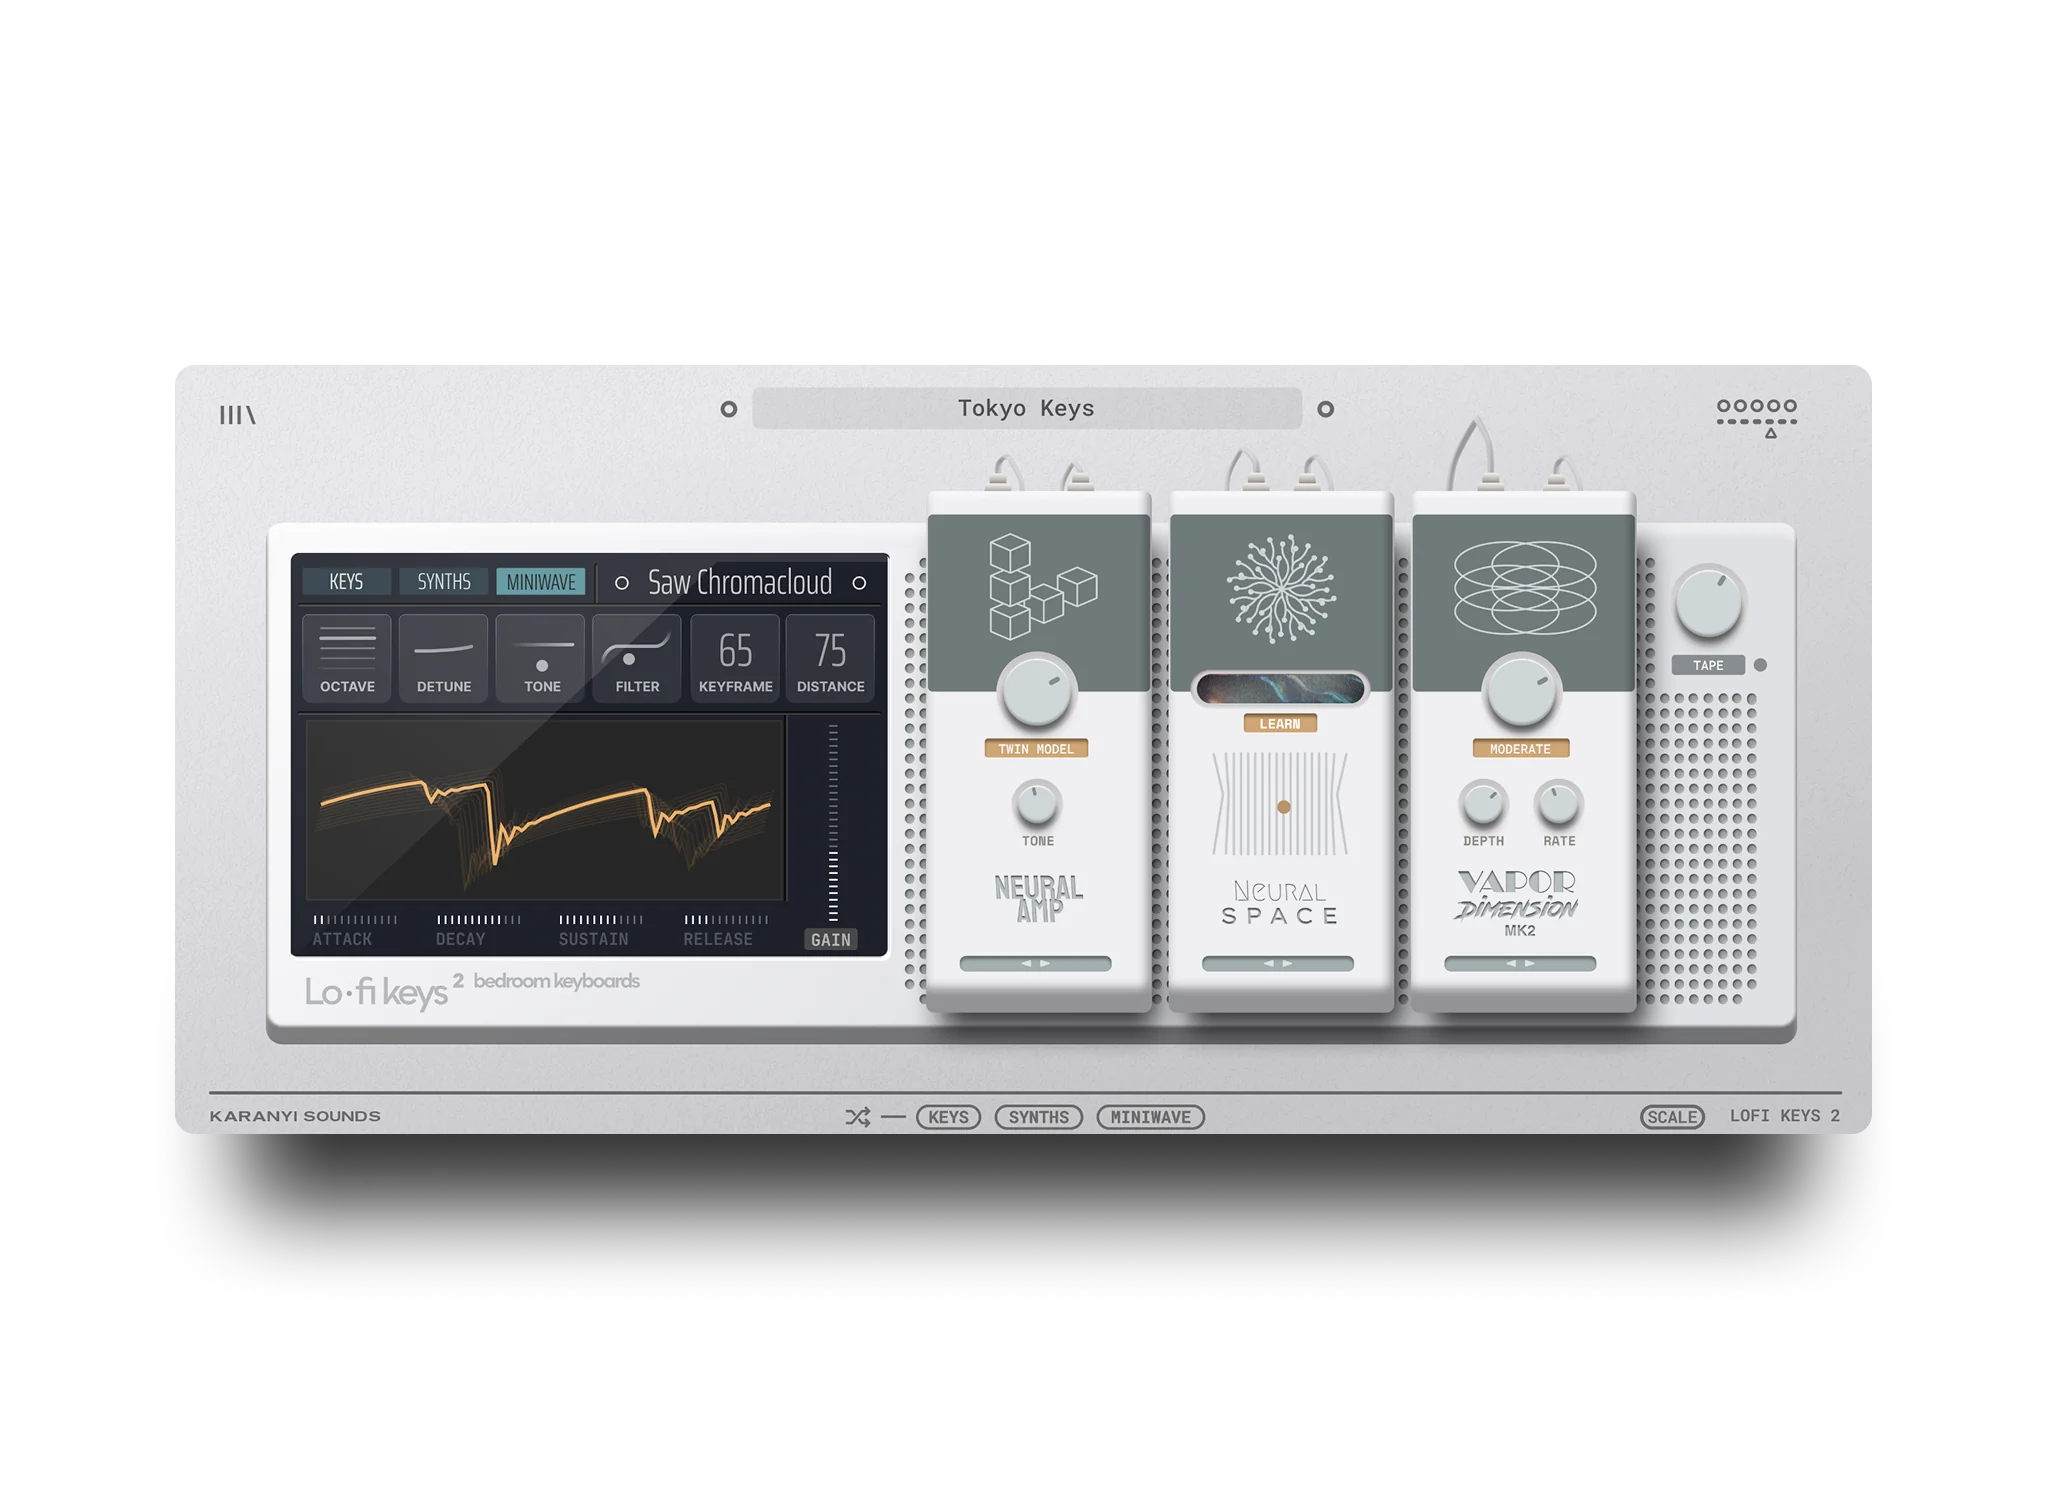
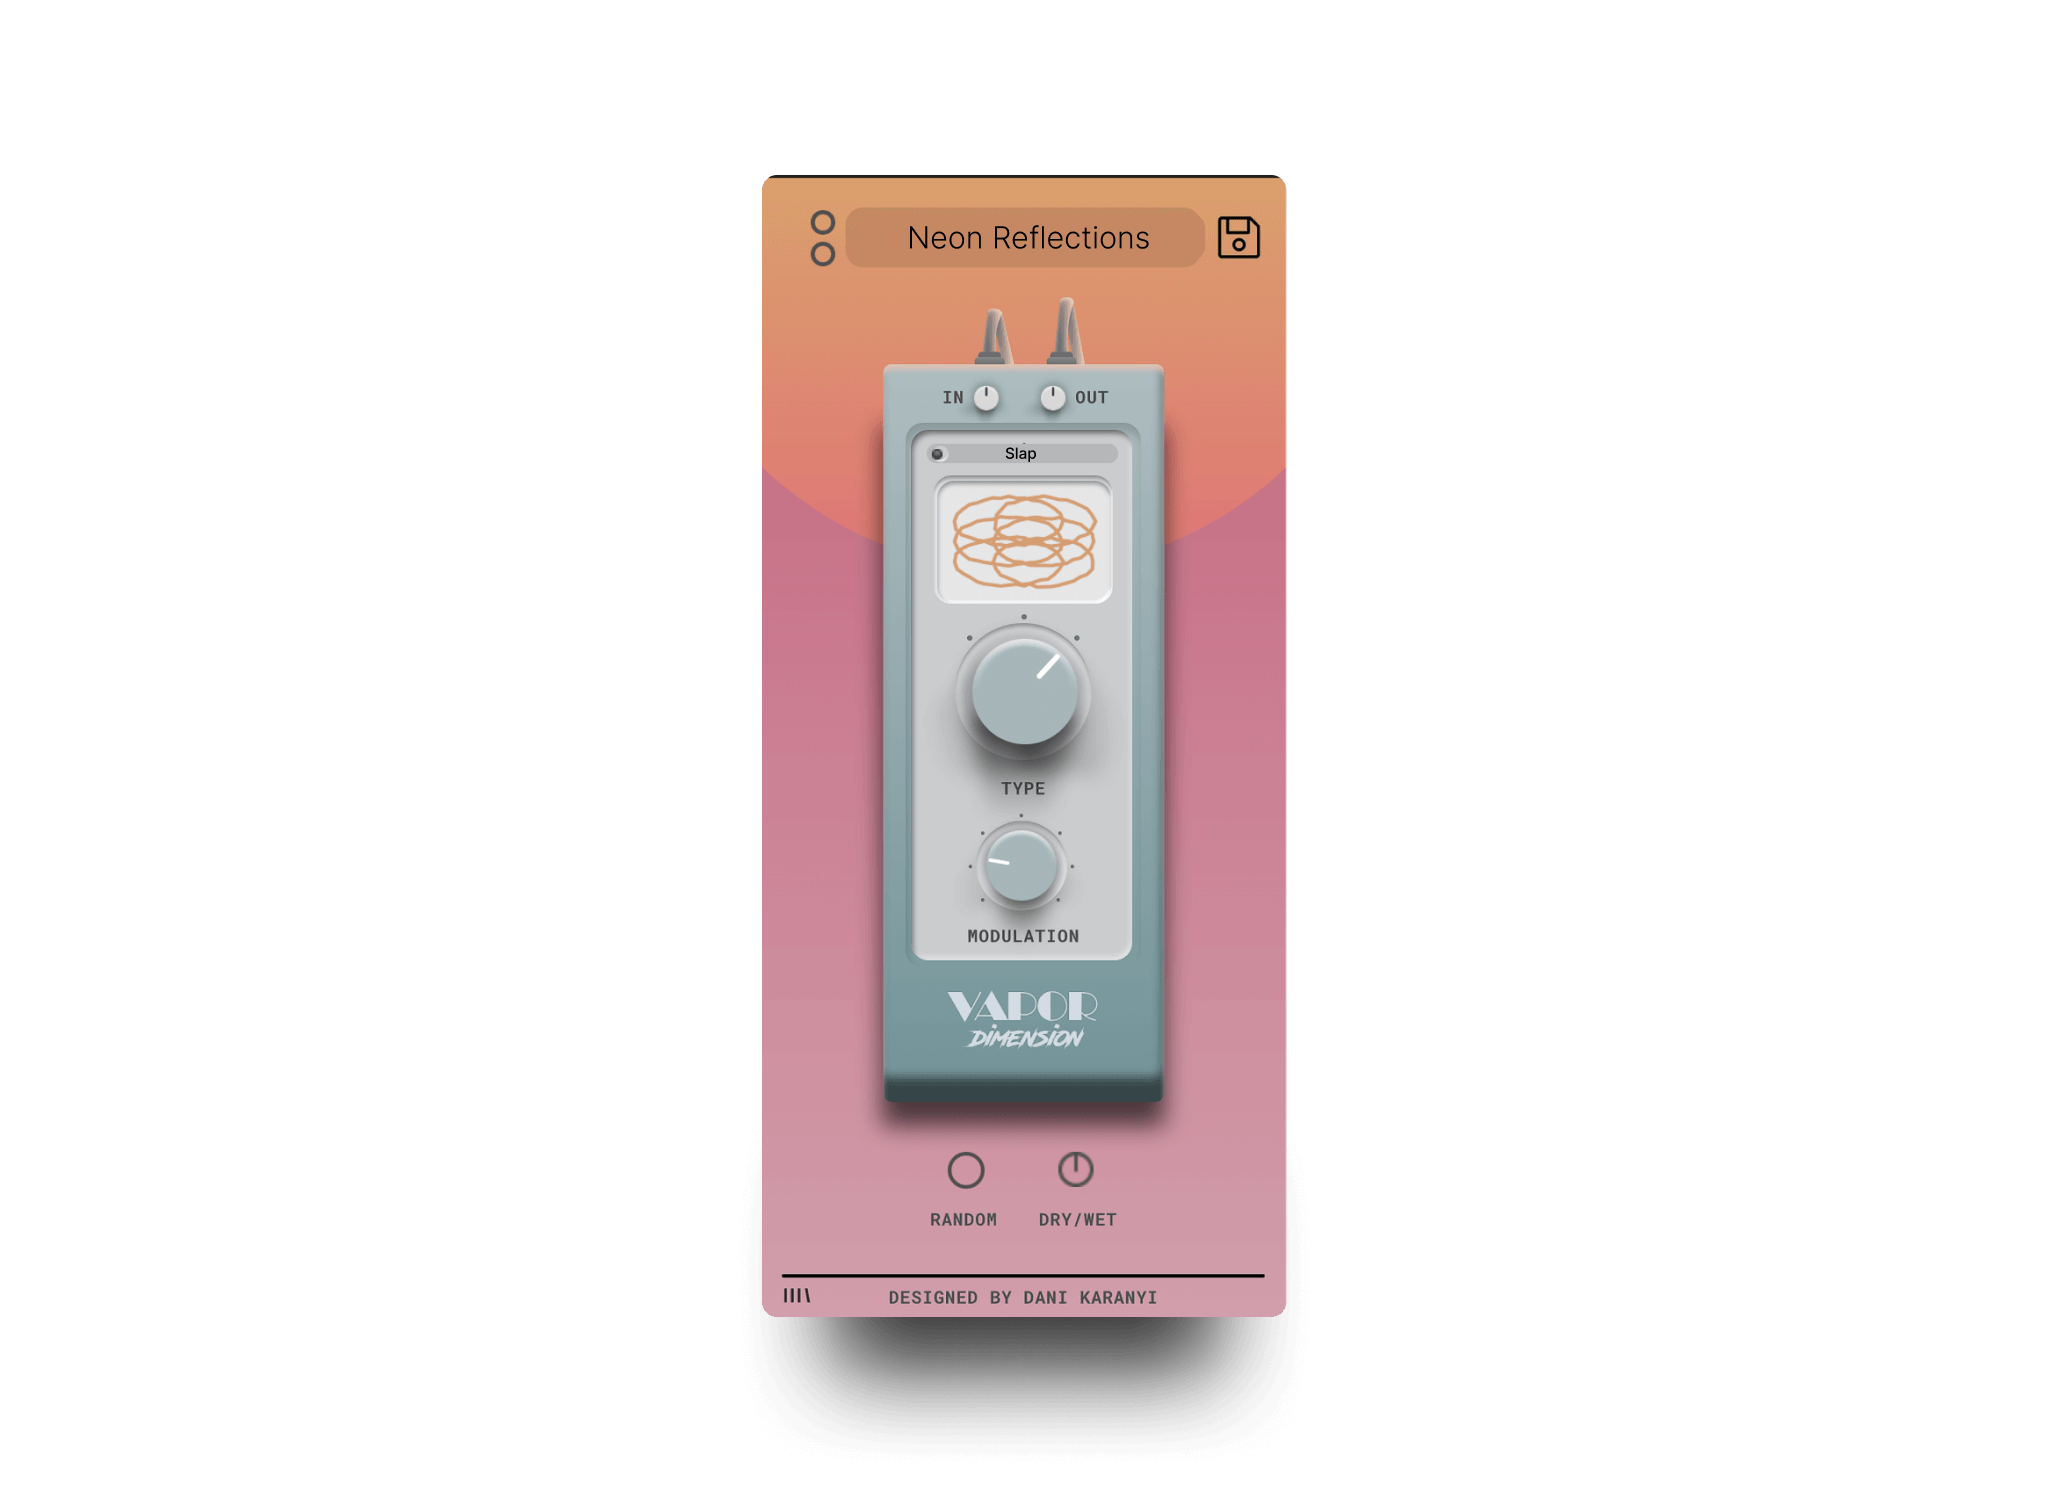
Building this from 4 separate plugins works, but it is slow to audition. Playmod is our creative multi-effect built on the effect engine of Lofi Keys 2. It puts the chain in one place: 6 analog saturation models, neural distortions, AI Spaces, modulation and 7 vintage playback modes. Dirty or dreamy, wide or broken. It costs $29 at the time of writing.
The workflow is the same as above: pick a saturation model, choose a playback mode for the vintage color, add modulation for the pitch movement, then set the mix. Playmod is a creative coloring tool, not a precise mixing processor, so if you need surgical control over a single tape parameter, a specialist tape plugin goes deeper. Our guide to the best lofi effect plugins compares the options fairly.
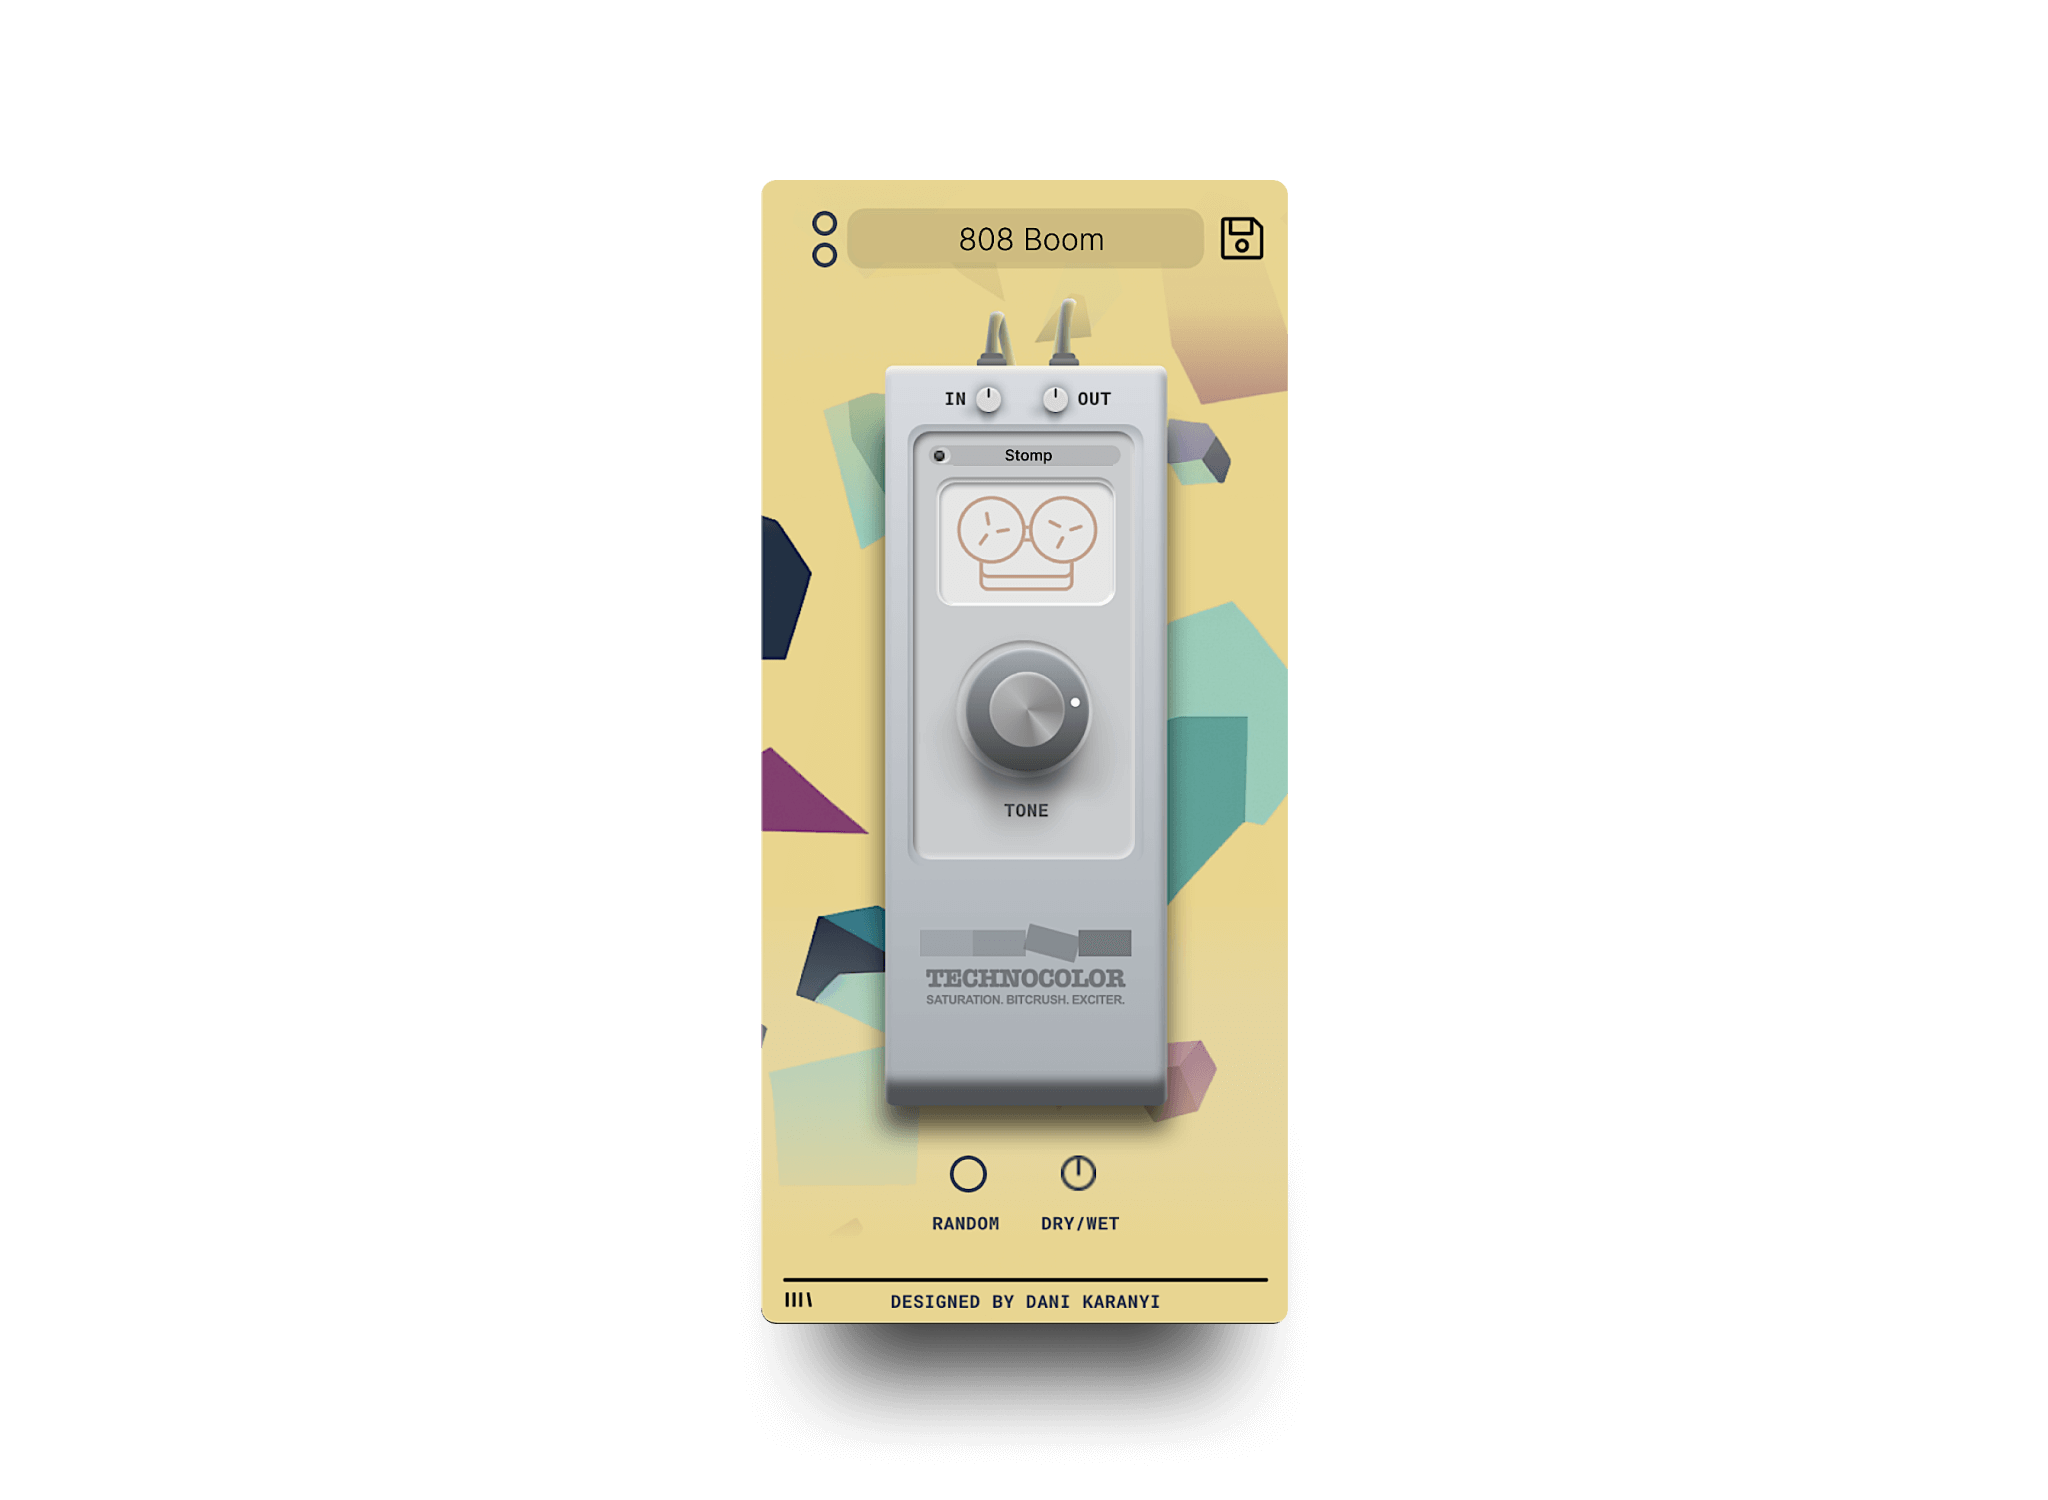
If you only want the saturation step, Technocolor does that with a single knob, inspired by vintage samplers and tape machines.
Common mistakes
- Wow on the bass and kick. The low end drifts out of tune against everything else. Keep pitch movement on mid and high elements.
- The same preset on every track. 5 wobbling tracks drift against each other and the mix turns seasick. 1-2 elements are enough.
- Noise that never changes. A constant crackle loop gets annoying by the second chorus. Automate it down, or drop it out when the full arrangement plays.
- Cutting too many highs. A dark lofi layer is fine, a dark whole mix is just dull. Keep hats, vocal air or a clean top layer above it.
- Judging in solo. Tape and vinyl effects always sound better soloed. Set the amount with the full mix playing.
FAQ
What is the difference between a tape effect and a vinyl effect?
A tape effect adds saturation, hiss and both slow and fast pitch movement (wow and flutter). A vinyl effect adds crackle, pops, rumble and mostly slow wow tied to the rotation of the record. Tape sounds warm and compressed, vinyl sounds dusty and sampled.
What wow and flutter settings sound realistic?
For wow, start at 0.5-1 Hz with a depth you can barely hear on a held chord. For flutter, use roughly 4-10 Hz at very low depth. For a vinyl feel, set wow near 0.56 Hz, the rotation rate of a 33 1/3 rpm record, and leave flutter off.
Should a tape or vinyl effect go before or after reverb?
Both work and they sound different. Before the reverb, a clean space surrounds a worn sound. After the reverb, the whole thing, tail included, sounds like it was recorded to tape or sampled from a record. For the "old recording" effect, put it after.
Can I use tape and vinyl effects on the master bus?
Yes, but lightly. A little saturation and a gentle high cut can glue a lofi mix. Avoid audible wow on the master, because it pulls the bass and kick out of tune along with everything else. Character usually works better on a few buses than on the whole mix.
Try it on 1 sound today
Pick a chord stem or a sampled loop, run the 7 steps, and compare it with the dry version in the full mix. If you would like the whole chain on a single insert, Playmod gets you from clean to worn in a few moves.


Leave a comment
This site is protected by hCaptcha and the hCaptcha Privacy Policy and Terms of Service apply.