

A rhythmic texture stops fighting your drums when it plays where the drums don't, moves in a different subdivision than the hi-hats, and lives in its own frequency band and stereo space. Get those 4 things right and you can add a lot of movement to a track without the groove turning to mush.
Below are 7 tips that work in any DAW and any genre, from synth-pop to cinematic electronica, plus the mistakes that usually cause the clutter in the first place.
Why rhythmic textures clash with drums
Drums already own the strongest rhythmic information in your track. A pulsing pad, a gated string bed or an arpeggiated texture adds a second rhythm layer. When both layers hit on the same 16th notes, in the same frequency range, in the same place in the stereo field, your ear can no longer tell them apart. The result sounds busy, the transients get smeared and the kick and snare lose their punch, even though nothing is technically too loud.
The fix is not to remove the texture. It is to give it its own slot in time, frequency and space.
1. Put the texture in the gaps of the drum pattern
Solo your drums and look at the pattern on the grid. Mark where the kick and snare land, then write or edit the texture so its accents fall on the empty steps. In a four-on-the-floor house groove, that usually means the offbeat 8ths and the 16ths just before the snare. In a half-time hip-hop or trap beat, there is a lot of room between beat 1 and the snare on beat 3: that is where a texture can breathe.
A quick way to do this with sustained sounds: draw volume automation or use a gate with a step pattern that opens on the gaps. You keep the tone of the pad and only change where it speaks.
2. Use a different subdivision than the hi-hats
If your hats run straight 16ths, a texture that also pulses in 16ths will compete with them on every step. Move the texture to another grid: 1/8 triplets against 1/16 hats, dotted 8ths against straight 8ths, or quarter-note triplets over a busy top end. The two layers now interlock instead of stacking, and the groove gets a gentle push-pull that sounds intentional.
Start with 1/8 triplets at 100-125 BPM. It is the most forgiving setting, and it works on everything from downtempo to synth-pop.
3. Give each layer its own frequency band
Rhythm clutter is often a frequency problem in disguise. As a starting point:
- Kick and bass own the low end, roughly below 120 Hz.
- Snare body sits around 150-250 Hz, its crack higher up.
- Hats and cymbals own the top, roughly above 6 kHz.
That leaves the 300 Hz to 5 kHz range as a natural home for a rhythmic texture. High-pass the texture somewhere between 150 and 250 Hz, and if it has a lot of sparkle, ease the top above 8 kHz so it does not blur the hats. If you want more ideas for carving space without reaching for EQ every time, read How to Make Space in a Mix Without Overusing EQ.
4. Keep the drums in the center, the texture wide
Kick, snare and bass belong in the middle. A rhythmic texture can go wide: stereo presets, a gentle chorus or a pair of slightly detuned layers panned left and right. This separation alone often fixes half of the clash, because your ear reads center and sides as different places.
Check the mix in mono at least once. If the texture disappears or the drums suddenly sound different, your width trick has phase problems. Pull it back until mono still holds up.
5. Let the drums duck the texture
Sidechain compression or a sidechain gate keyed from the kick (or the whole drum bus) pushes the texture down for a few milliseconds each time a hit lands. Use a fast attack, a release that matches the tempo (around 100-200 ms for most grooves) and only 2-4 dB of gain reduction. You should feel the drums get clearer, not hear an obvious pumping effect, unless pumping is the sound you want.
Keying the gate from a percussion part instead of the kick is a fun variation: the texture then follows that part's rhythm, and changing the percussion pattern changes the texture with it.
6. Automate the texture section by section
A texture that plays at the same level for 3 minutes will feel like clutter by the second chorus. Automate its volume and, for MIDI parts, its velocity per section:
- Intro and breakdown: the texture can lead, louder and fuller, because the drums are thin or absent.
- Verse: drop it 3-6 dB and soften the velocities so it sits behind the vocal or lead.
- Chorus or drop: bring the level back, but keep it below the drums.
Bringing a new rhythmic layer in slowly over 16 or 32 bars also helps. It sounds like the track is growing instead of suddenly getting crowded.
7. Start from a sound that already moves
Static pads need a lot of work to become rhythmic: gates, LFOs, automation. A sound that has movement built in gets you there faster and usually sounds more musical, because the motion is part of the tone, not bolted on afterwards.
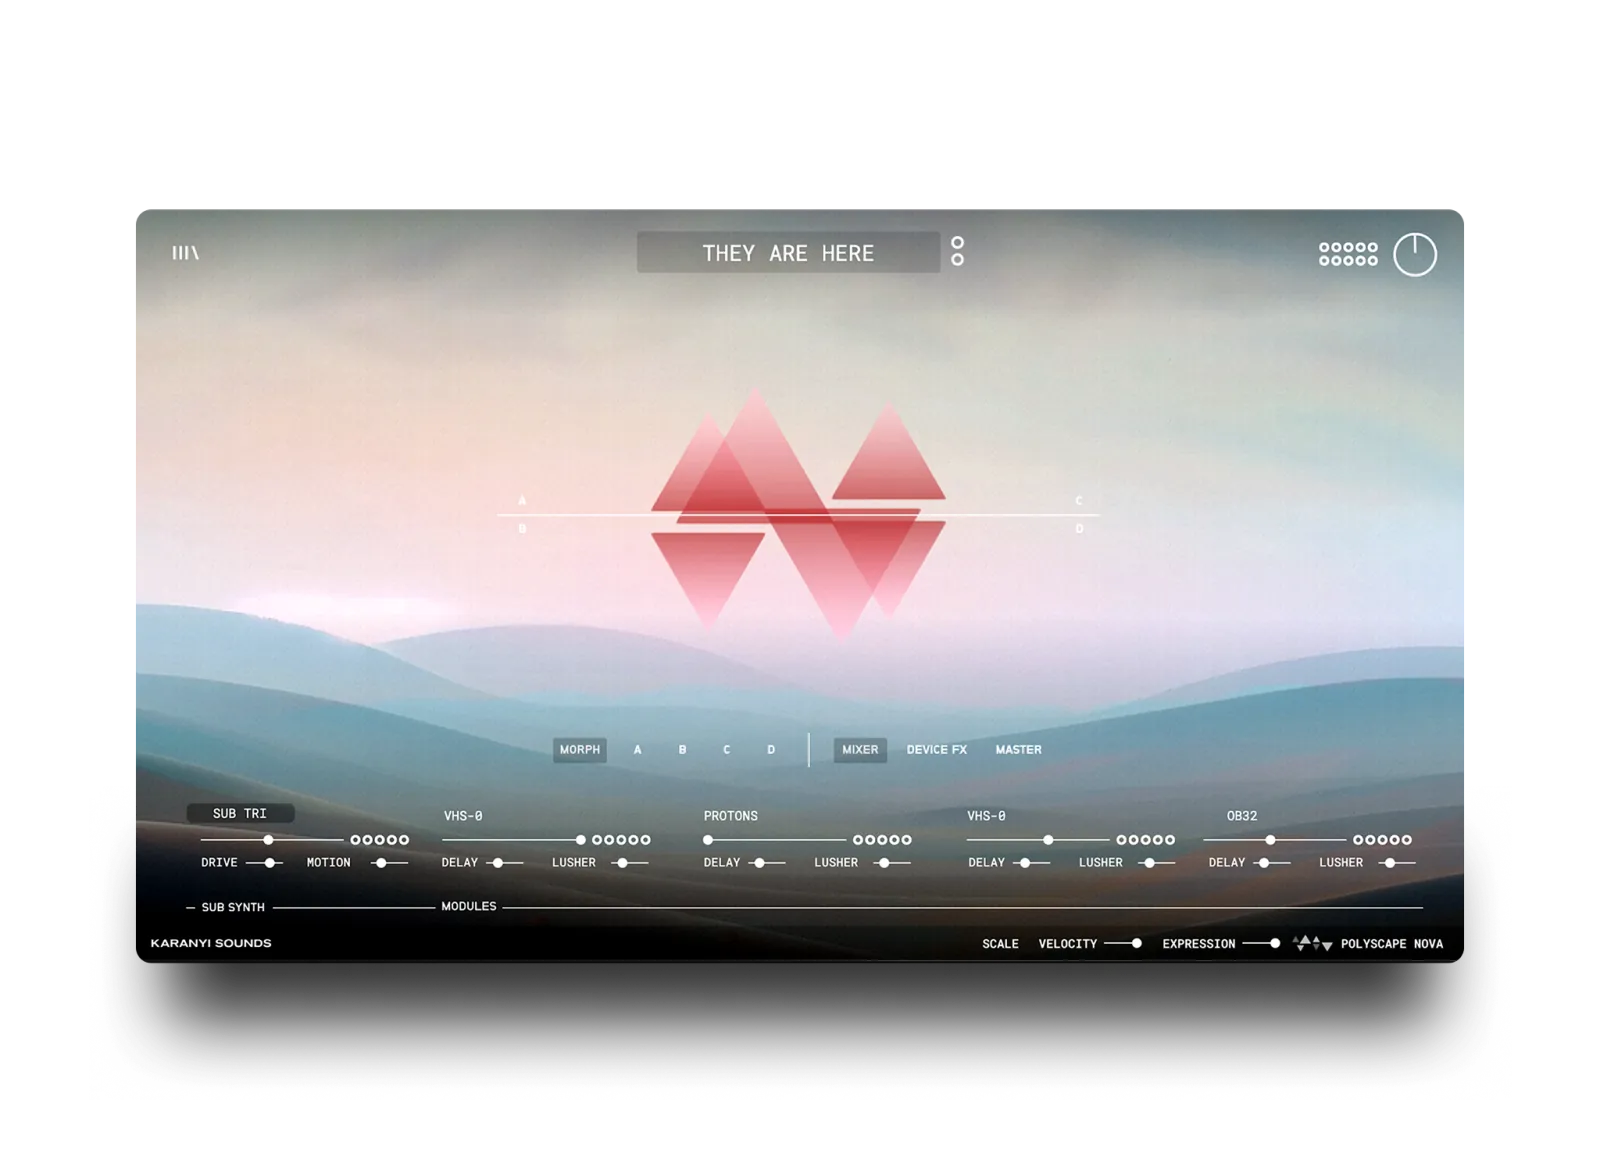
This is where Polyscape Nova fits. It fuses string instruments with modern synthesis to create evolving soundscapes, dynamic pads and rhythmic textures, and it includes a Preset Pack with 40 presets of raw, analog energy. Because the source is string-based, the textures have an organic, played quality that sits well against programmed drums. Pick a rhythmic preset, then apply tips 1 to 6: check where its pulse lands against your drums, high-pass it, keep it wide and let the kick duck it.
For a deeper look at building pads from strings, see How to Build Evolving Pads from String Instruments. For the instrument in a full track, read Making Synth Pop with Polyscape Nova.
"Karanyi Sounds plugins seamlessly blend acoustic and synthetic sound palettes, creating organic, natural textures." Richie Kohan, Trailer Composer (Spiderman, X-Men Apocalypse, John Wick)
Common mistakes
- Matching the hi-hat grid. Same subdivision, same accents: the texture and the hats blur into one noisy layer.
- Leaving the low end in. Pads and string textures often carry energy below 150 Hz that muddies the kick. High-pass first, then judge.
- Too much reverb on the texture. Long tails fill the gaps you just created. Use a shorter decay or duck the reverb return with the drums.
- Heavy sidechain on everything. If every layer pumps, nothing pumps. Choose the 1 or 2 layers that need it.
- Mixing the texture in solo. A texture that sounds great alone is often too bright and too busy in the full mix. Balance it with the drums playing.
FAQ
What is a rhythmic texture in music production?
A rhythmic texture is a sustained or evolving sound, such as a pad, string bed or atmosphere, that also carries a pulse or pattern. It adds movement and groove like a percussion part, but with tone and harmony instead of transients.
How do I stop pads from cluttering my drums?
High-pass the pad around 150-250 Hz, let the kick duck it with light sidechain compression, keep it wider than the drums and make sure its rhythm falls in the gaps of the drum pattern rather than on the same steps.
Which subdivision works best against 16th-note hi-hats?
1/8 triplets are the safest choice. Dotted 8ths and quarter-note triplets also work well. The goal is a grid that interlocks with the hats instead of doubling them.
Should a rhythmic texture be louder in some sections?
Yes. Let it lead in intros and breakdowns where the drums are thin, pull it back 3-6 dB in verses, and keep it under the drums in choruses and drops. Automating level and velocity per section keeps it from becoming wallpaper.
Try it on your next track
Take one busy section of a current project, mute everything except drums and your texture, and run through the 7 tips above. If you want a texture source with movement built in, Polyscape Nova is a good place to start, and it is also part of the Cinema Pro bundle if you want a full cinematic toolkit.


Leave a comment
This site is protected by hCaptcha and the hCaptcha Privacy Policy and Terms of Service apply.