

The fastest way to turn a boring loop into a texture is to run it through a granular effect, print the result to audio, and then edit that audio like a new sample. The six tricks below cover what to do before, during and after the granular stage so the texture adds movement without wrecking your groove.
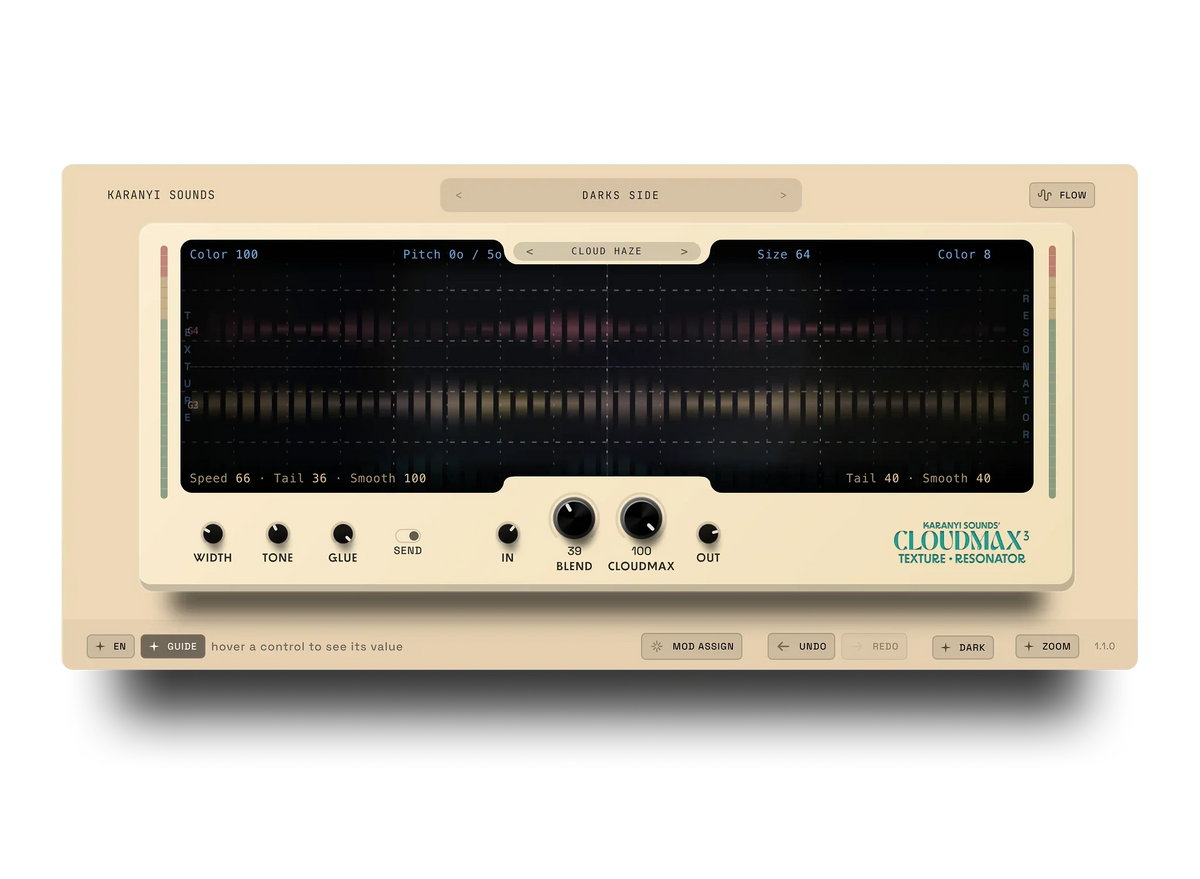
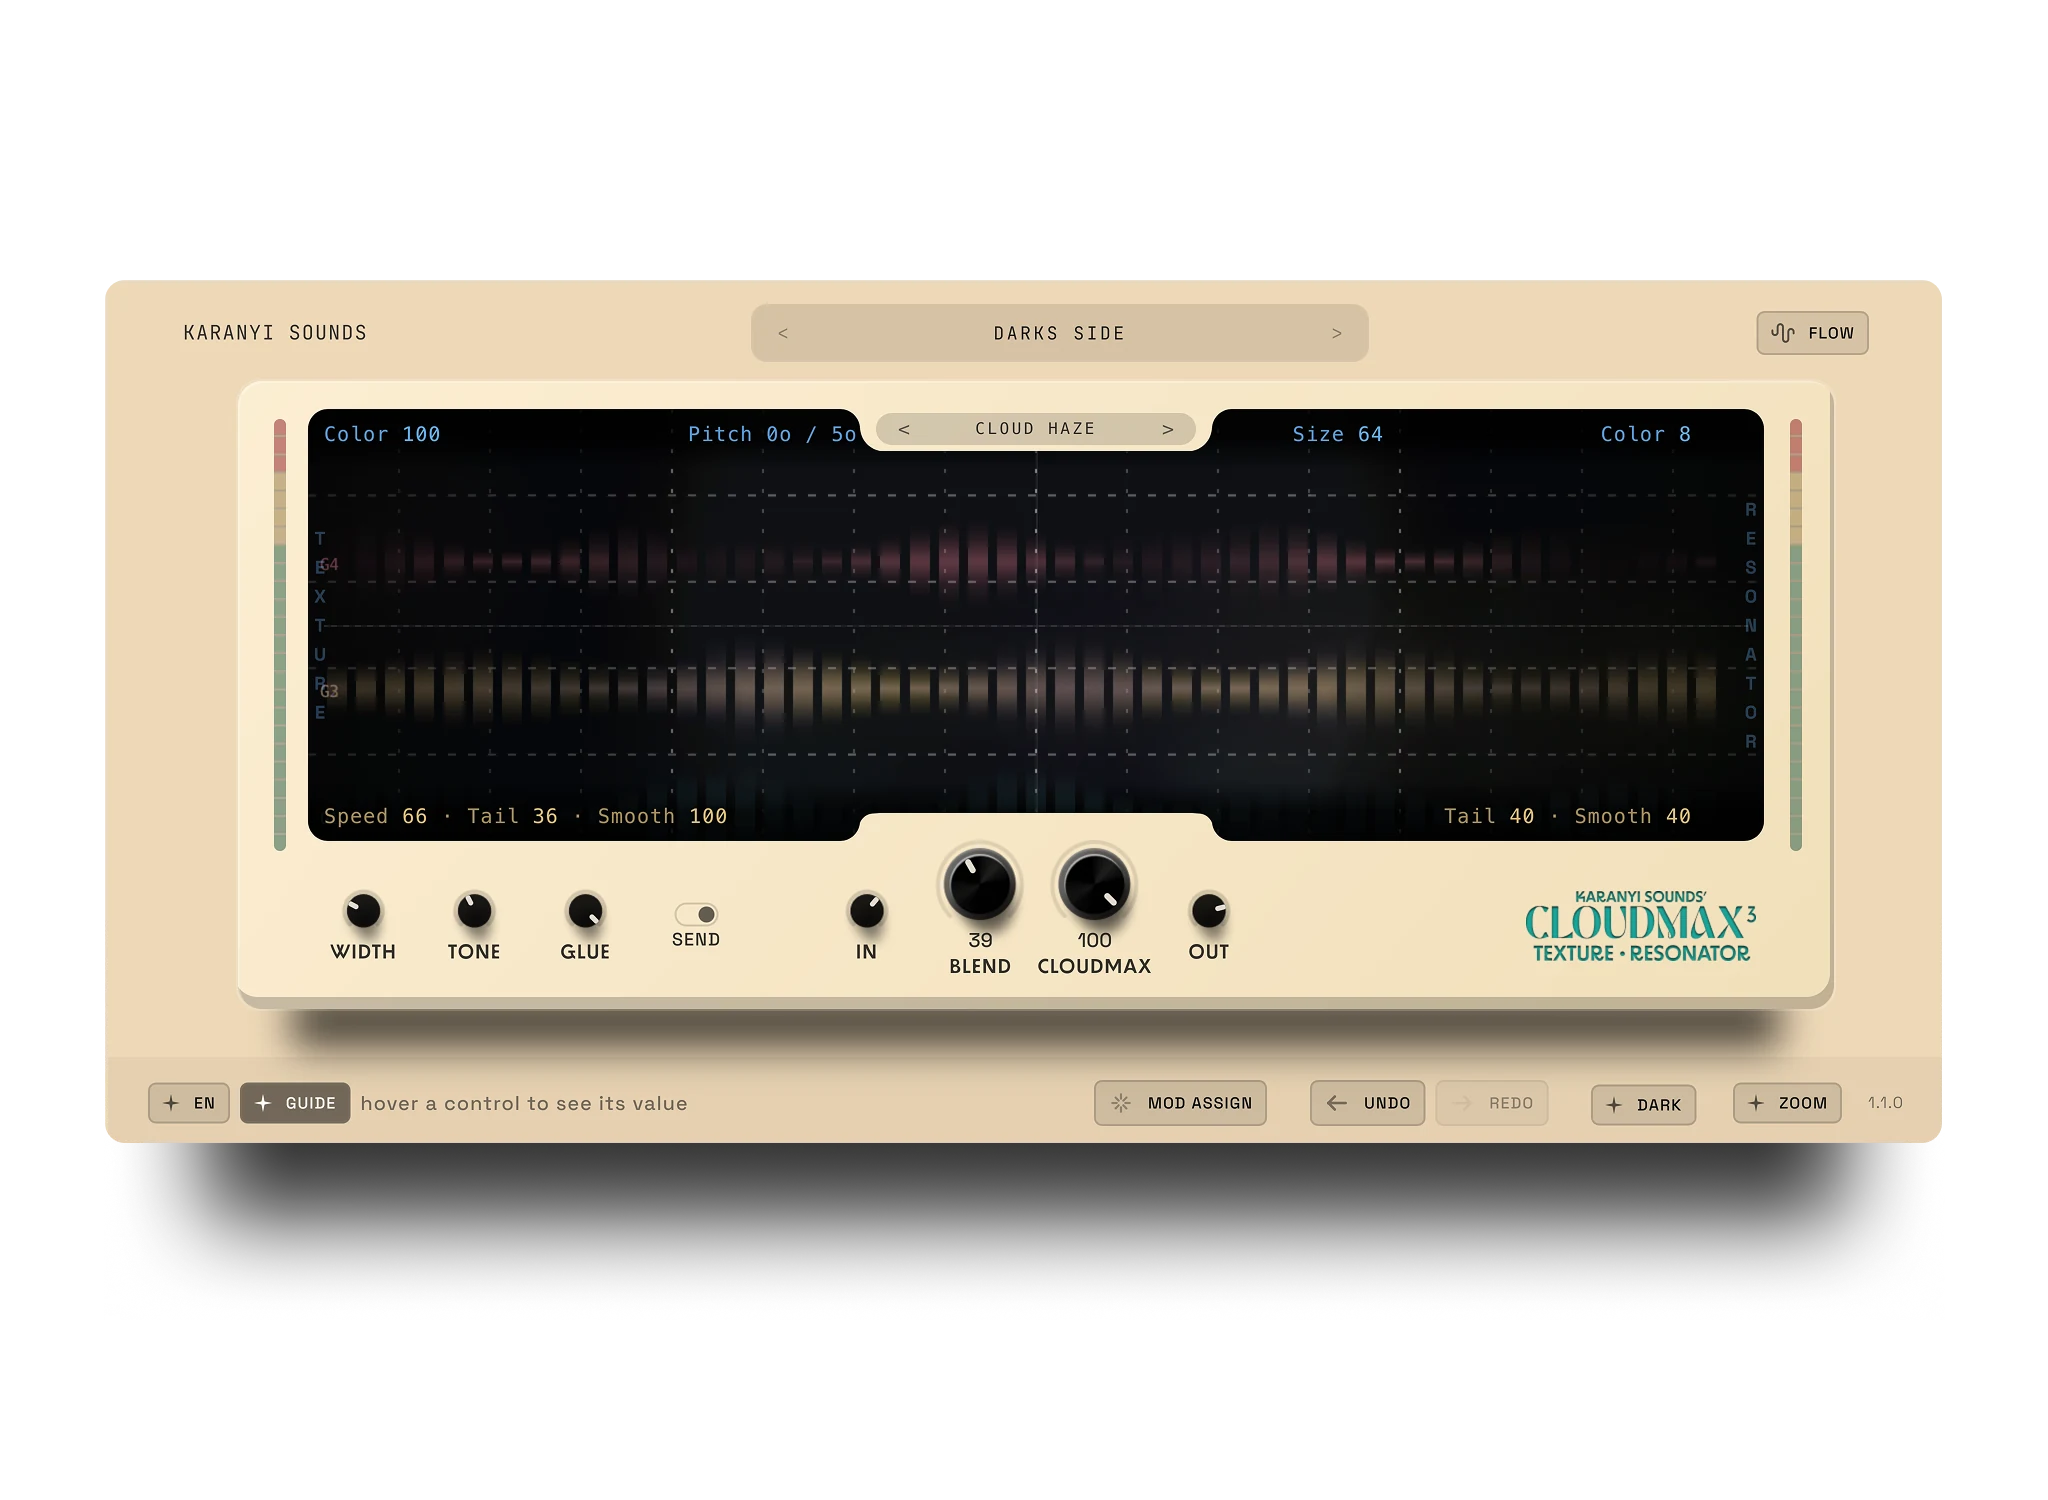
Granular processing chops sound into tiny grains and rearranges them. If you want the full definition first, read our straight answer on what granular synthesis is. The examples here use Cloudmax 3, a texture resonator with a 4-engine granular core (four parallel grain engines for shimmer, stretch and smear), but the workflow applies to any granular effect.
1. Resample a drum loop into a pad
Take a 2-4 bar drum loop, run it through the granular effect on a fresh audio track, and record the output. Drums are full of short transients, so the grains come out as rhythmic, noisy swells that work well as a pad under the original loop. Resampling matters: once the texture is audio, you can trim, fade and reverse it without the effect eating CPU.
2. Print the texture and slice it
Do not leave the effect running live on the whole track. Record 30-60 seconds of the effect while you change settings, then cut the best 2-4 seconds into a new clip. Use those clips as risers, transitions or a looped background layer. A live effect gives you one take. A printed one gives you a sample library.
3. Gate or sidechain the grain layer
Granular layers tend to fill every gap in the groove. Put a gate or a sidechain compressor keyed from the kick or snare on the texture track so it ducks on the hits and swells back between them. The groove stays readable and the texture still feels continuous.
4. Cut the lows of the wet signal
Grains smear low end into mud quickly. Add a high-pass filter after the effect, somewhere between 150 and 300 Hz as a starting point, and raise it until the kick and bass own the bottom again. Use your ears: if the texture sounds thin on its own but fits in the full mix, the cut is right.
5. Use it on a send instead of as an insert
Treat the granular effect like a reverb. Put it on a send, feed it from drums, keys or vocals, and bring the return up until you hear it as part of the space. This keeps the dry sounds intact, lets you share one texture across several tracks, and makes it easy to automate the send level per section. For a vocal-specific version of this idea, see how to use granular delay on vocals without losing clarity.
6. Feed it guitar and vocals, not only synths
Synth pads already sound like textures, so granular processing adds less. Guitar chords, sung vowels and even spoken phrases have more internal variation, which gives the grains more to work with. Record a sustained chord or a held "ahh", process it, and layer the result under the main part.
Common mistakes
- Leaving the texture at full level. A texture should be felt before it is heard. If you notice it on every bar, pull it down.
- Processing the full mix. Granular effects work best on a single source, not on a loop that already has bass, drums and melody.
- Skipping the print. Without printing to audio, you lose the chance to edit, reverse and re-use the good moments.
Granular delay or granular reverb?
Both can make textures, but they behave differently on a mix. If you are unsure which one you need, our breakdown of granular delay vs reverb covers when to use which.
FAQ
What is a granular effect?
A granular effect cuts incoming audio into very short grains and replays them with changes in position, pitch, density or length. The result is a smeared, shimmering or rhythmic version of the original sound.
Should I use a granular effect as an insert or on a send?
A send is usually safer because it keeps the dry sound untouched and lets you control how much texture each track contributes. Use an insert when you want to fully replace the source, for example when resampling a loop into a pad.
Why does my granular layer make the mix muddy?
Grains spread low frequencies over time, which stacks with your kick and bass. High-pass the wet signal and gate or sidechain the layer so it makes room for the groove.
Can I try Cloudmax 3 before buying?
Yes. Cloudmax 3 has a 7-day trial with full functionality and no credit card required.
Try it on your own loop
Pick one loop from your current project and run tricks 1, 3 and 4 on it. If you want a granular tool built for this, Cloudmax 3 is $59 and comes with a 7-day full trial, no credit card.



Leave a comment
This site is protected by hCaptcha and the hCaptcha Privacy Policy and Terms of Service apply.